How to Make a Fairy in a Jar Lantern (Easy DIY)
Make a glowing fairy in a jar lantern with a paper silhouette, tissue paper and battery fairy lights. Full supply list and 9 steps with photos.
 By Hakan
Published
Project card
- Time
- 1 hour, plus drying
- Skill
- Beginner
- Cost
- About $12
- Jar
- Quart (32 oz), wide mouth
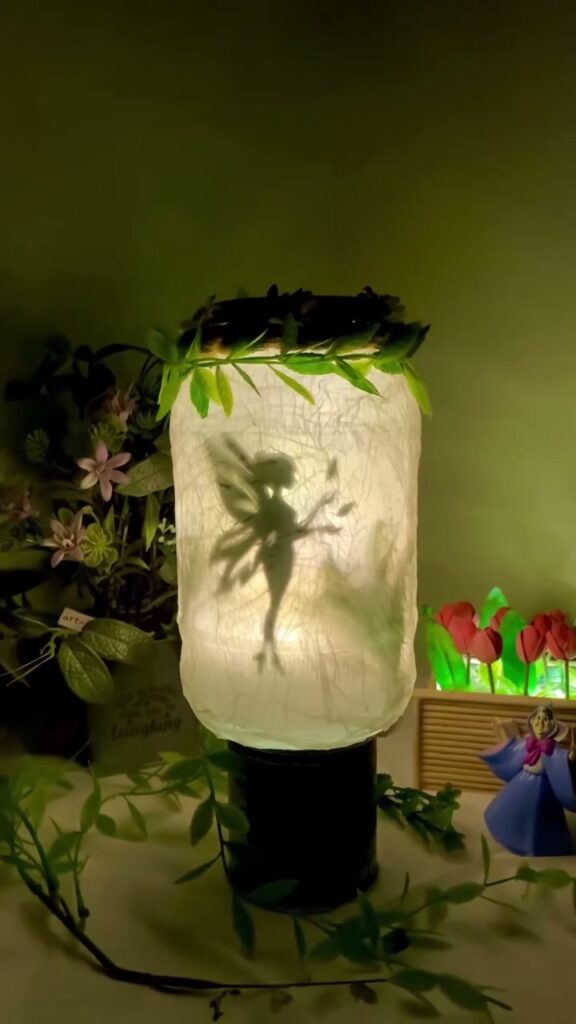
In daylight this is a plain frosted jar with a ring of leaves around the neck. Turn the lights on in a dark room and a fairy appears on the glass, standing in a warm glow. The whole effect comes from three cheap things: a paper cutout, one sheet of tissue paper and a string of battery lights.
The idea is simple once you see it. The fairy is glued to the inside of the glass. The tissue paper on the outside turns the jar into a screen. The lights sit behind the cutout, so all you see from the front is its shadow.
Nothing here needs special tools. If you can use scissors and a paintbrush, you can make this in an evening, and most of that time is glue drying.
What you need
- 1 large clear glass jar with a wide mouth (a quart mason jar or a big pickle jar)
- White paper or thin cardstock, a pencil and small sharp scissors
- A black permanent marker
- A glue stick
- White tissue paper, or a plain white napkin split into single layers
- White craft glue thinned with a little water, or decoupage glue
- A soft flat brush, plus any long brush or chopstick for reaching inside
- A handful of polyester fiberfill (pillow stuffing)
- Battery LED fairy lights on thin wire, warm white
- Gold acrylic paint for the lid
- Jute rope and a hot glue gun
- A faux leaf garland and a few small faux flowers
Pick the jar before you draw anything
The size of the jar decides the size of the fairy and how many lights you need. A fairy that fills about two thirds of the straight part of the glass looks right. Bigger than that and the wings bend around the shoulder of the jar and the shadow goes out of shape.
| Jar | Fairy height | Light string |
|---|---|---|
| Pint (16 oz) | about 2.5 in (6 cm) | 20 LEDs, 6.5 ft (2 m) |
| Quart (32 oz) | about 4 in (10 cm) | 30 to 50 LEDs, 10 to 16 ft (3 to 5 m) |
| Half gallon (64 oz) | about 5 in (13 cm) | 50 to 100 LEDs, 16 to 33 ft (5 to 10 m) |
A wide mouth matters more than the brand of jar. Your hand, or at least a brush, has to reach the inside wall. Jars with embossed logos on the front are harder, because the paper will not sit flat over raised letters. Use the smooth side.
Step 1: Clean the jar and take off the label
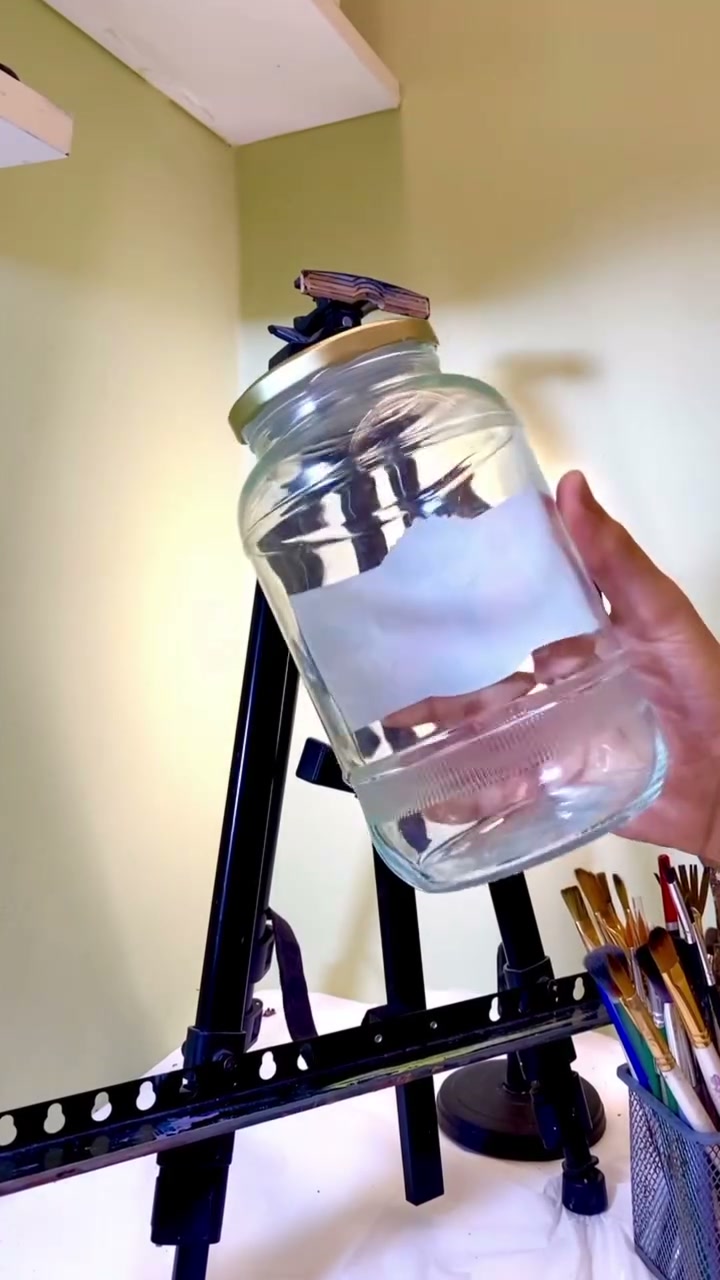
Soak the jar in warm soapy water until the label slides off, then rub away the leftover glue with a little cooking oil and wash it again. Dry it completely, inside and out. Any greasy patch will stop the tissue paper from sticking later.
Step 2: Draw the fairy and cut it out
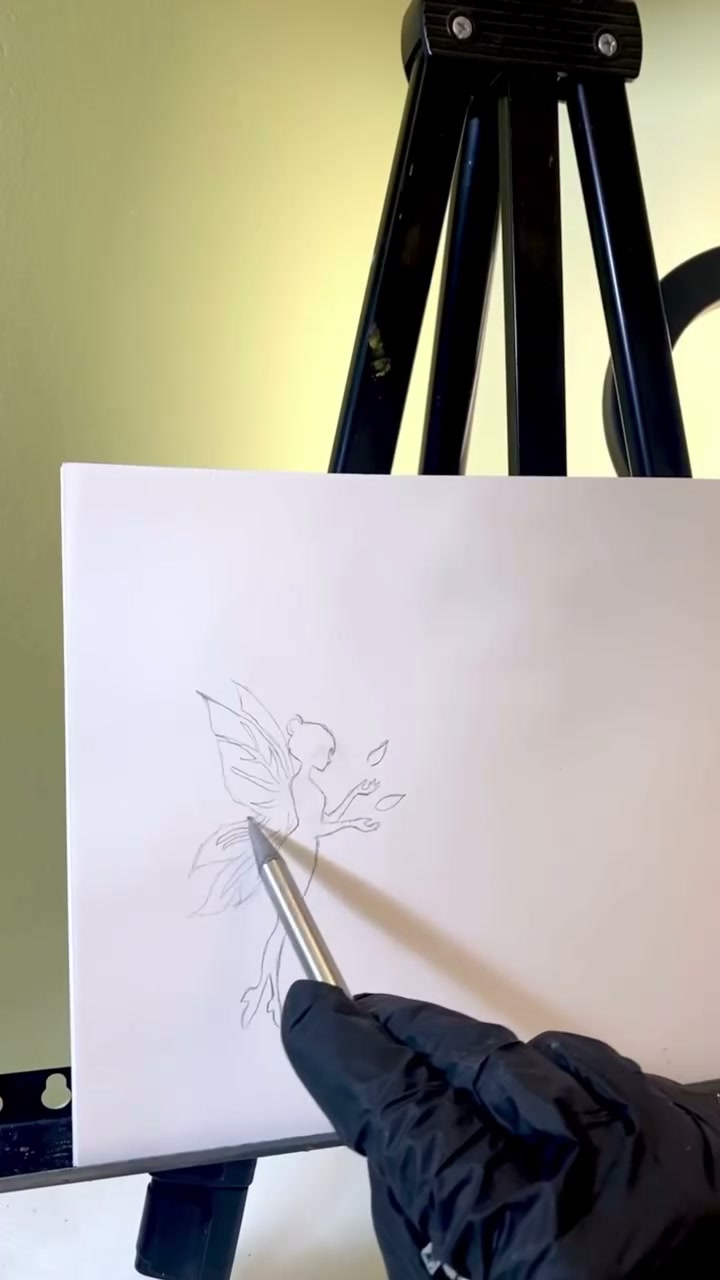
Sketch a fairy in side view on white paper. Keep the shapes chunky: a round head, a simple dress, two big wings and pointed toes. Thin arms and tiny fingers are the first things to tear, and they will not show up in the shadow anyway.
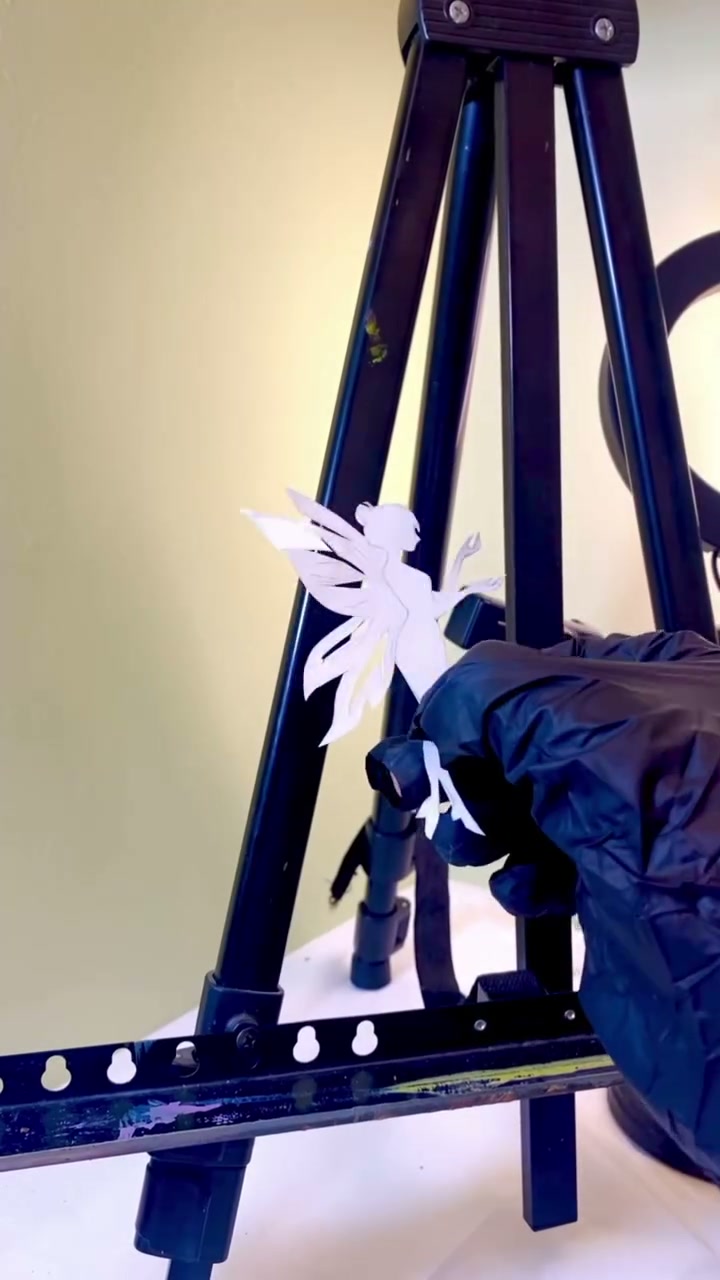
Cut around the outline with small scissors. Turn the paper as you cut, not the scissors, and leave the narrow parts like the ankles for last so the piece stays stiff while you work.
Not confident drawing? Print a fairy silhouette at the height from the table above and cut that out. The lantern looks the same.
Step 3: Color the fairy black
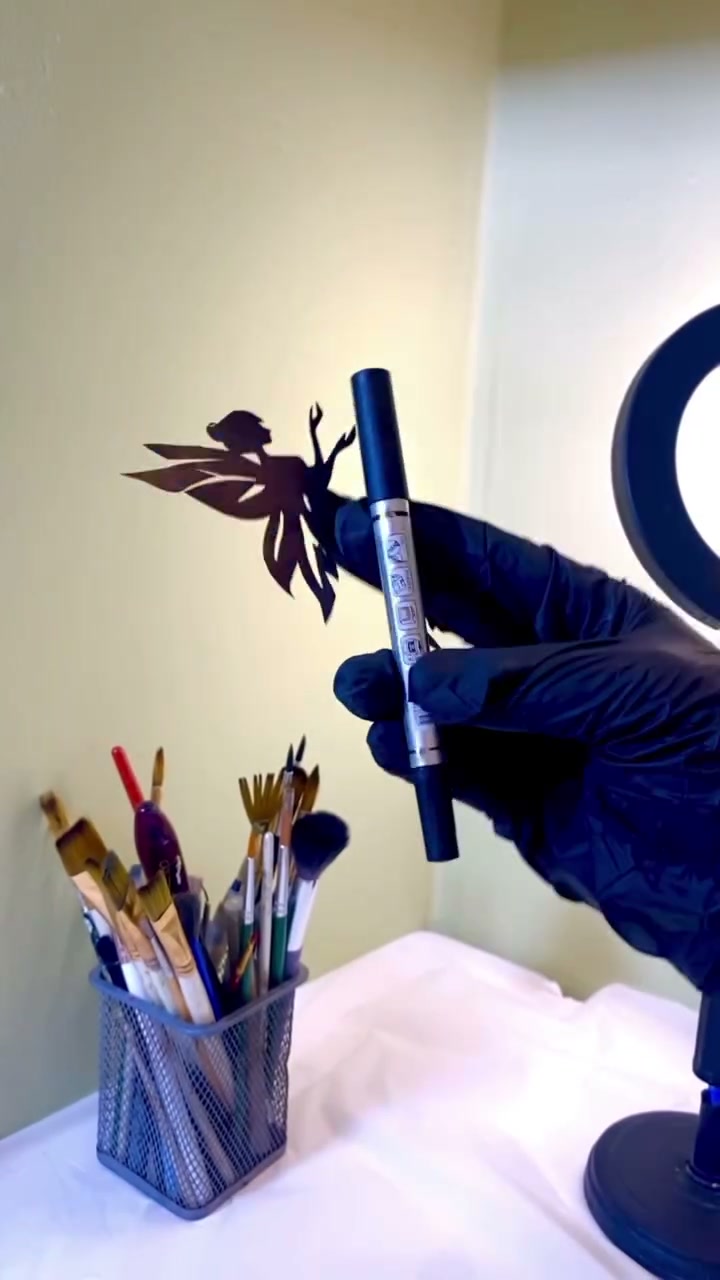
Go over the whole cutout with a black permanent marker, both sides. White paper lets light through and gives a grey, patchy shadow. A solid black figure gives a crisp one. Starting with black cardstock saves you this step, but pencil lines are hard to see on it.
Step 4: Glue the fairy inside the jar
Rub glue stick over the front of the fairy, the side that will face out through the glass. Cover the tips of the wings and the feet well, since those are the parts that curl.
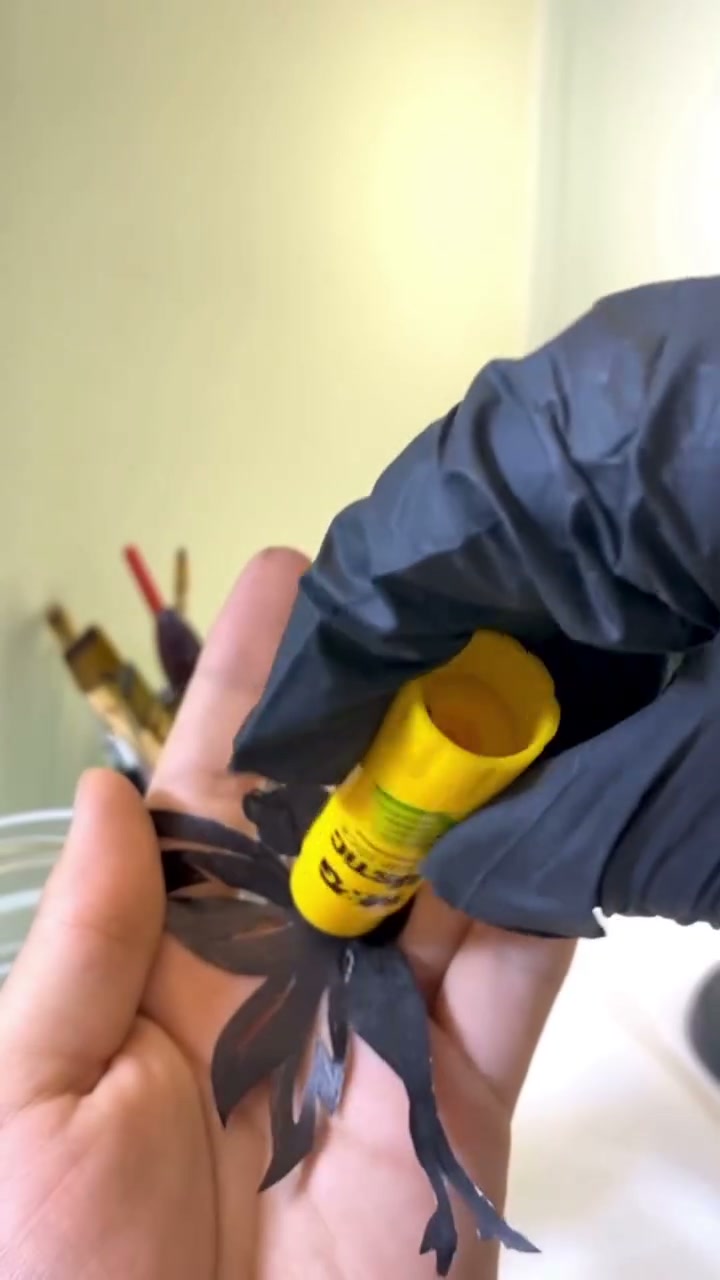
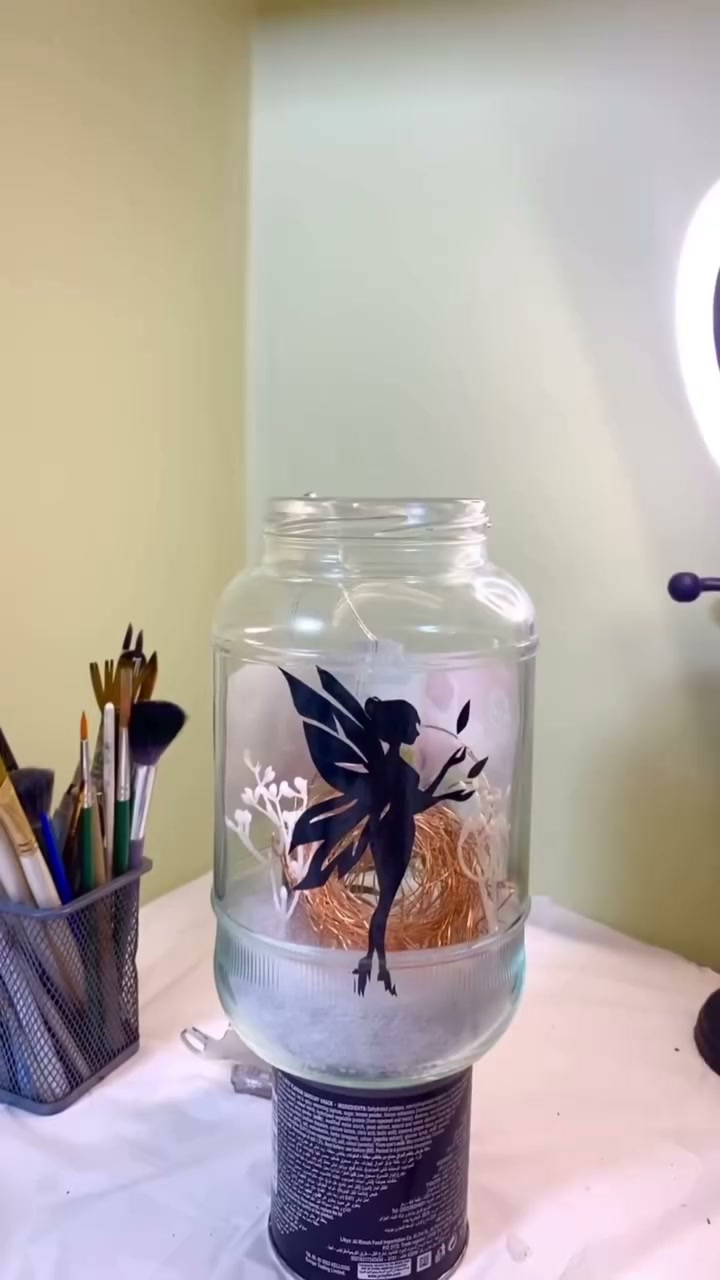
Lower it into the jar and press it against the inside wall, roughly in the middle of the straight section. Use the handle of a brush to rub it flat from the center outwards. Check it from the outside before the glue grabs. This is your only chance to straighten it.
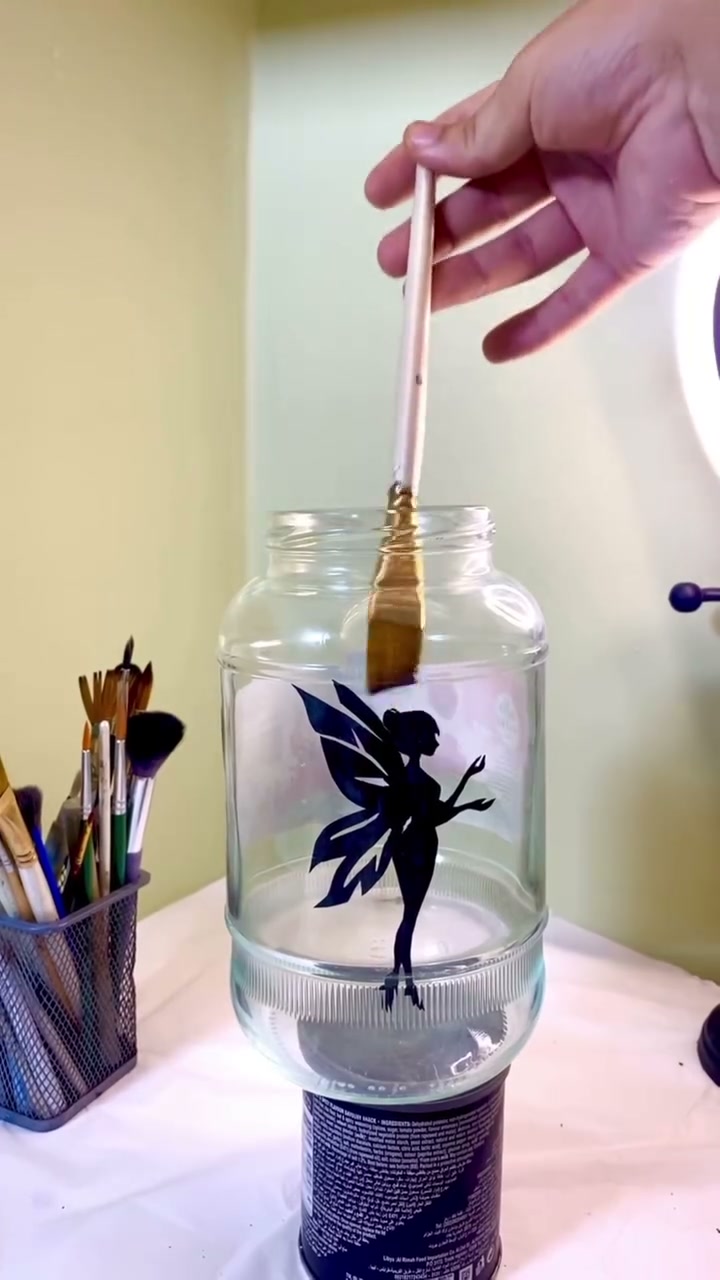
Step 5: Add the cloud and the lights
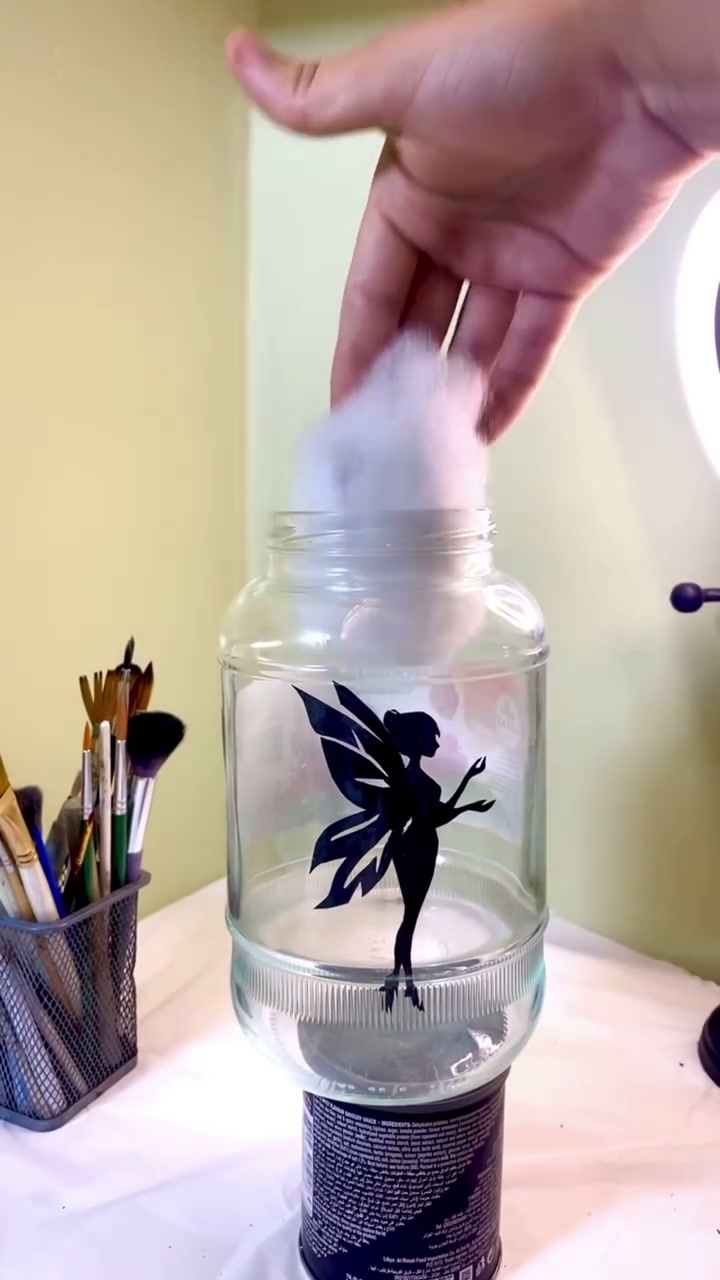
Push a handful of fiberfill into the bottom of the jar and fluff it up so it sits behind the fairy’s feet. It hides the wire and the battery pack, and it spreads the light so you get a soft glow, not a row of bright dots.
A small white faux sprig next to the fairy is optional. It adds a second, fainter shadow that makes the scene look deeper.
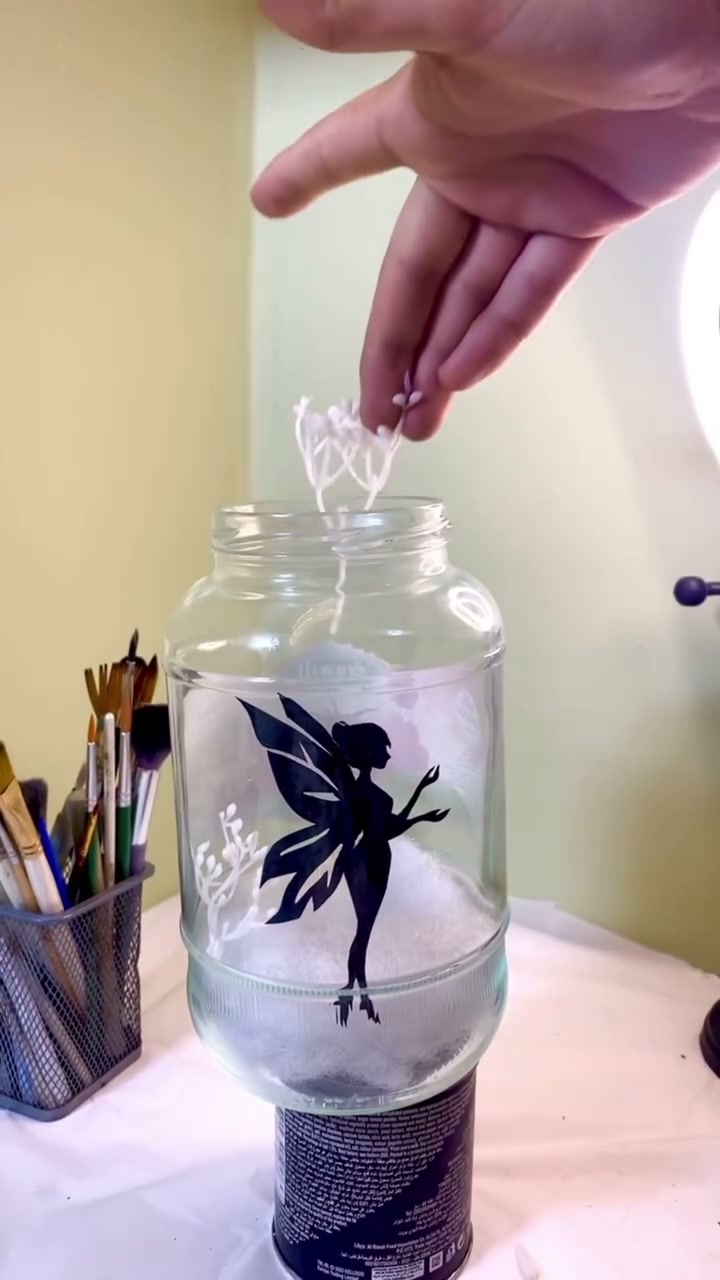
Feed the light string in loosely and let it coil on top of the fiberfill, behind the cutout. Keep the wire off the paper fairy so it does not push it away from the glass. Leave the battery pack where you can reach the switch, either tucked just under the lid or outside the jar with the wire running under the rim.
Step 6: Cover the outside with tissue paper
Crumple a sheet of white tissue paper into a ball and open it out again. The creases are what give the jar its frosted, slightly papery look. Brush a thin coat of glue over one section of the glass, lay the tissue on it and tap it down with the brush.
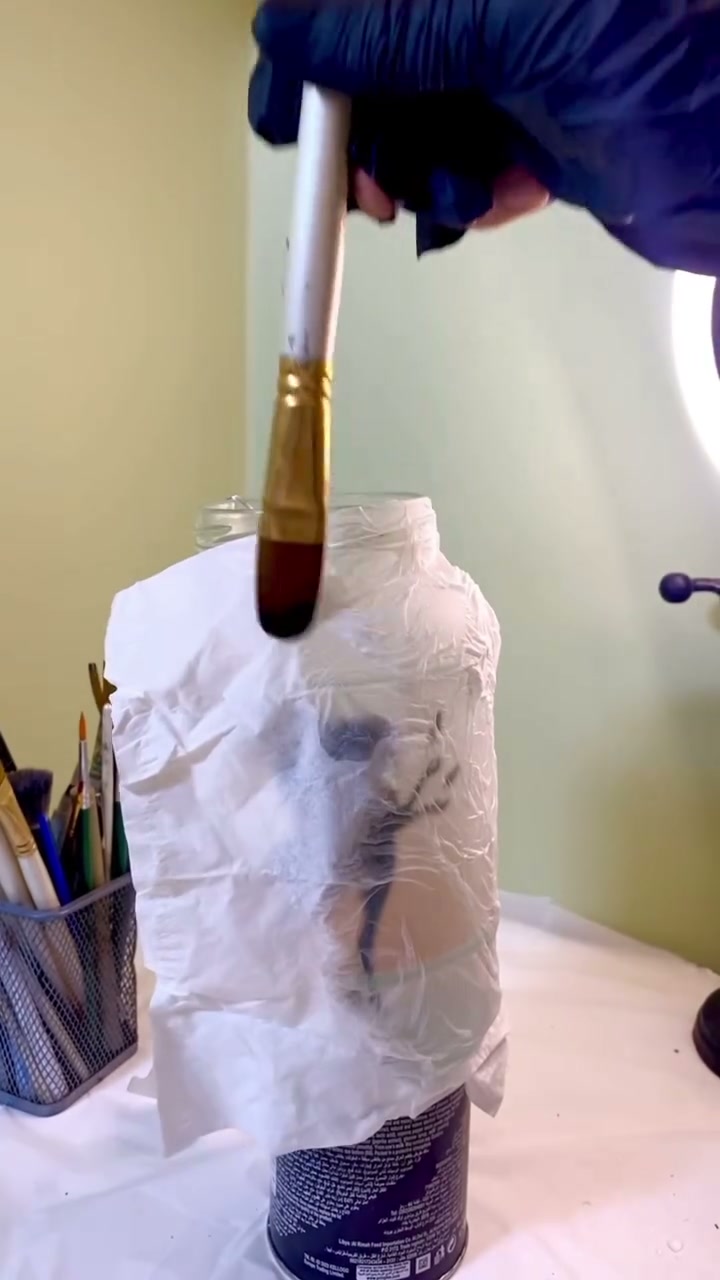
Work around the jar one section at a time and brush a second thin coat of glue over the top. Do not try to smooth out every wrinkle. Trim or fold the extra paper at the rim and the base. While it is wet you will see the fairy clearly through the paper. It fades to a faint grey shape as it dries, and that is correct.
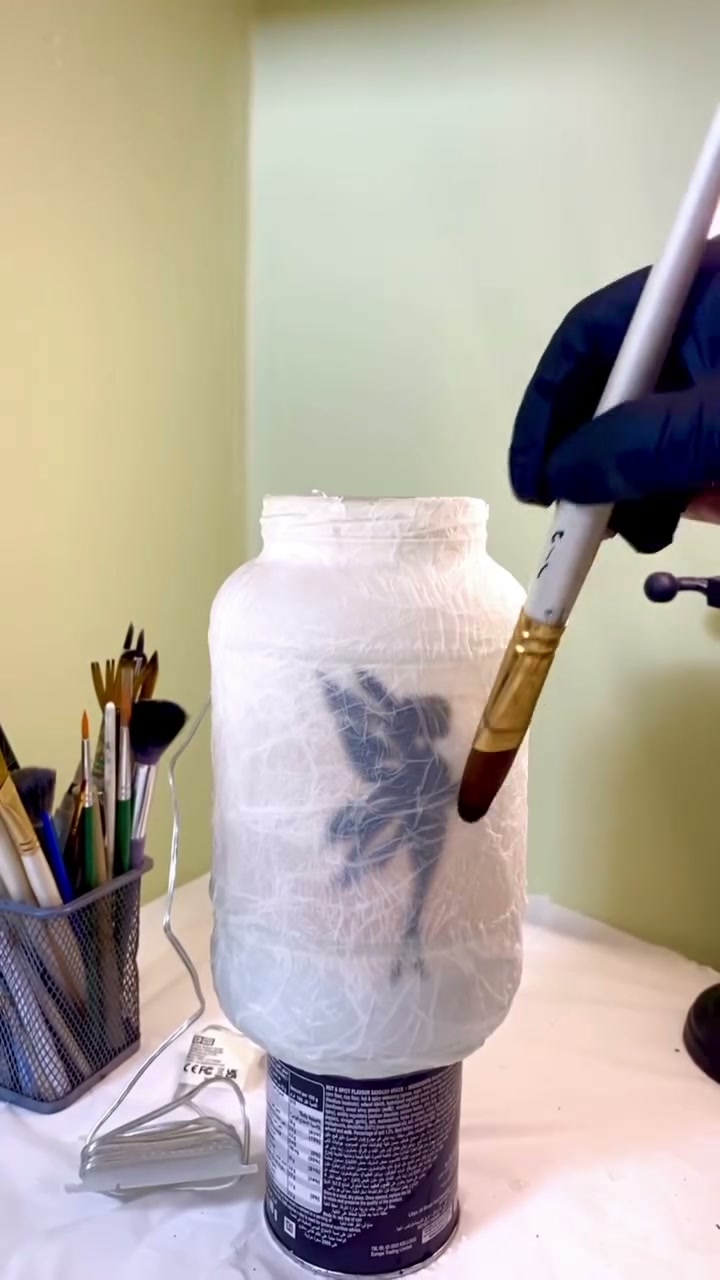
Let it dry for at least an hour before you touch the surface.
Step 7: Paint the lid
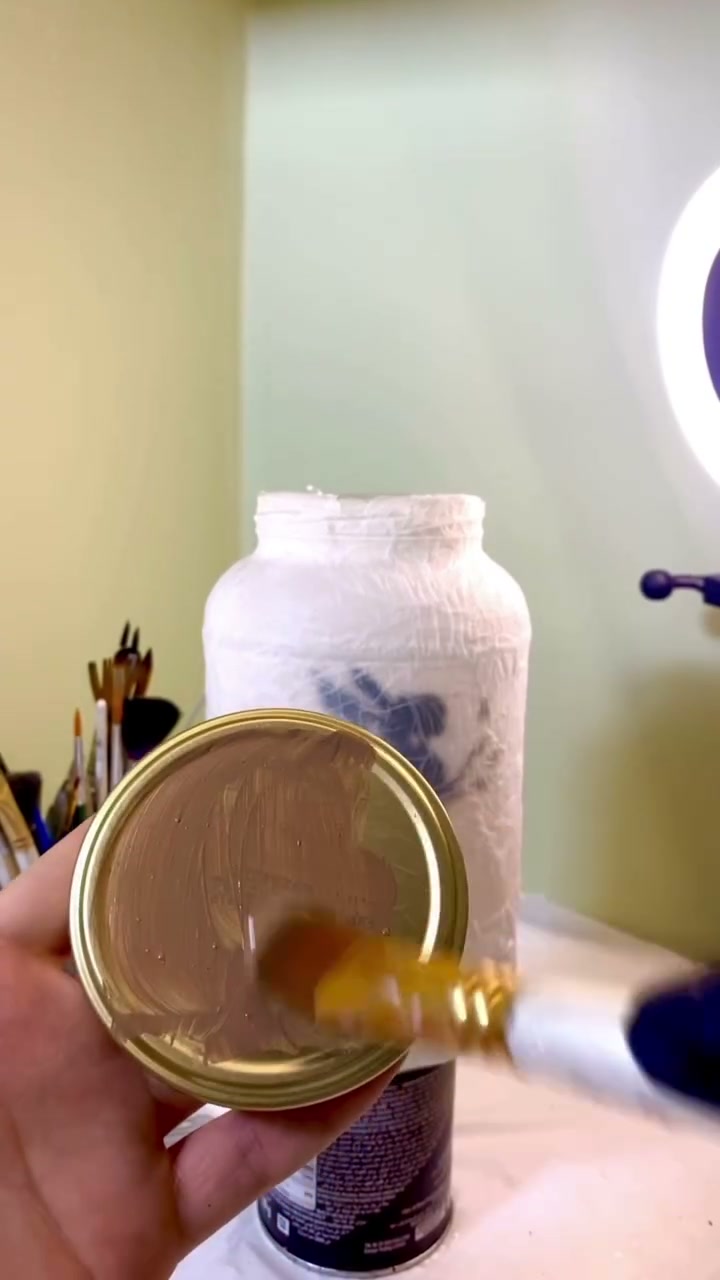
Two thin coats of gold acrylic on the lid, with ten minutes between them. If the lid is shiny metal, scuff it lightly with sandpaper first or the paint will scratch off with a fingernail.
Step 8: Wrap the neck with rope and greenery
Run a line of hot glue around the neck and wind jute rope over it, two or three turns, pressing as you go. Put the lid on.
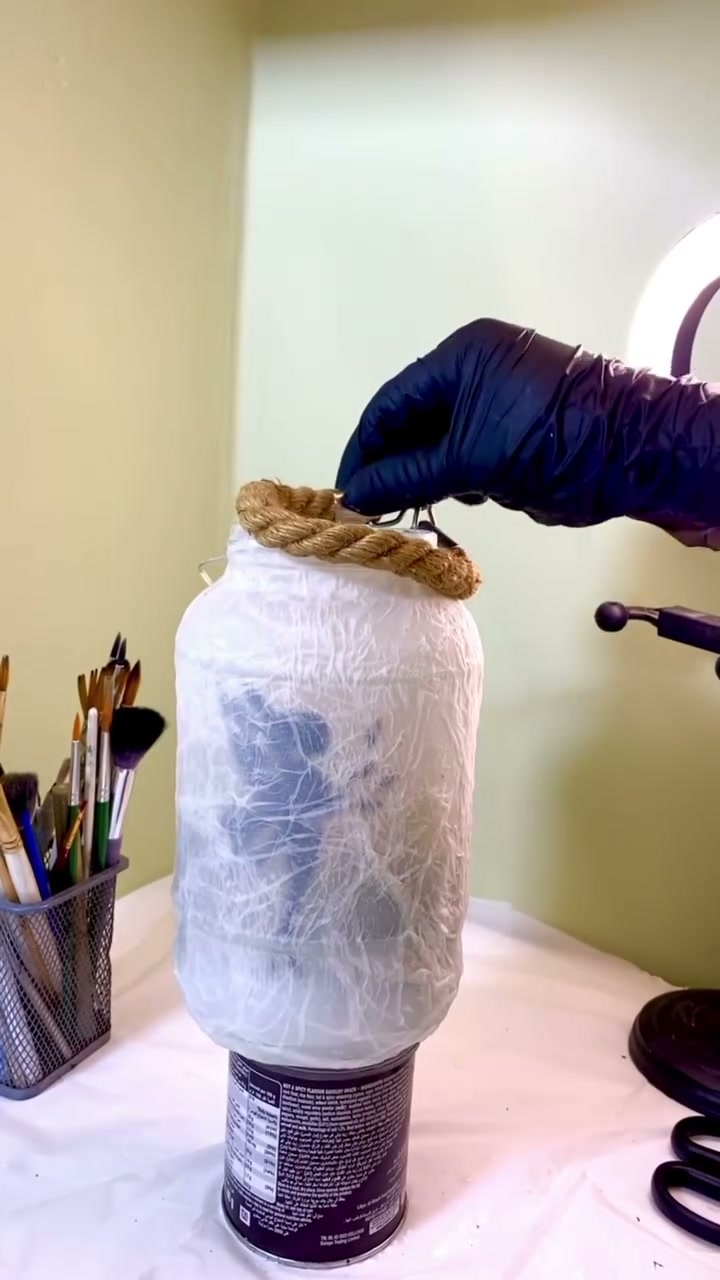
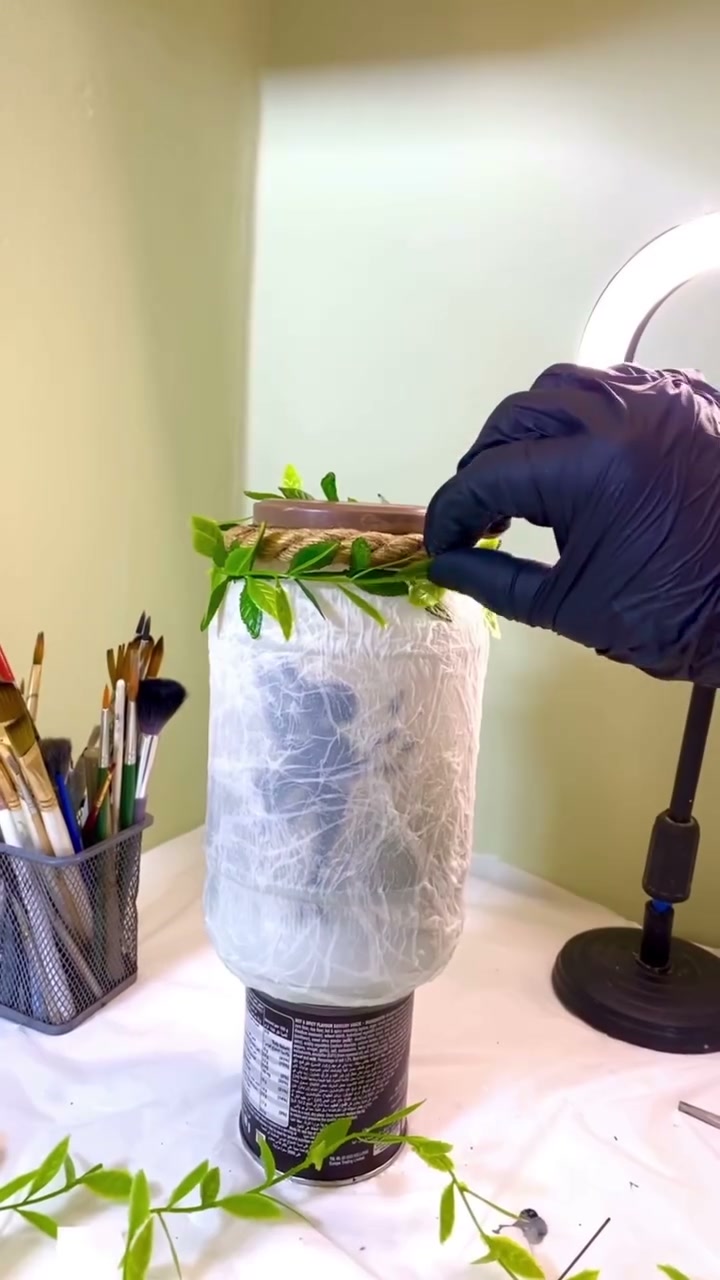
Wrap a length of faux leaf garland over the rope and fix it with a few dots of glue. The leaves should hang slightly over the shoulder of the jar, like a little crown.
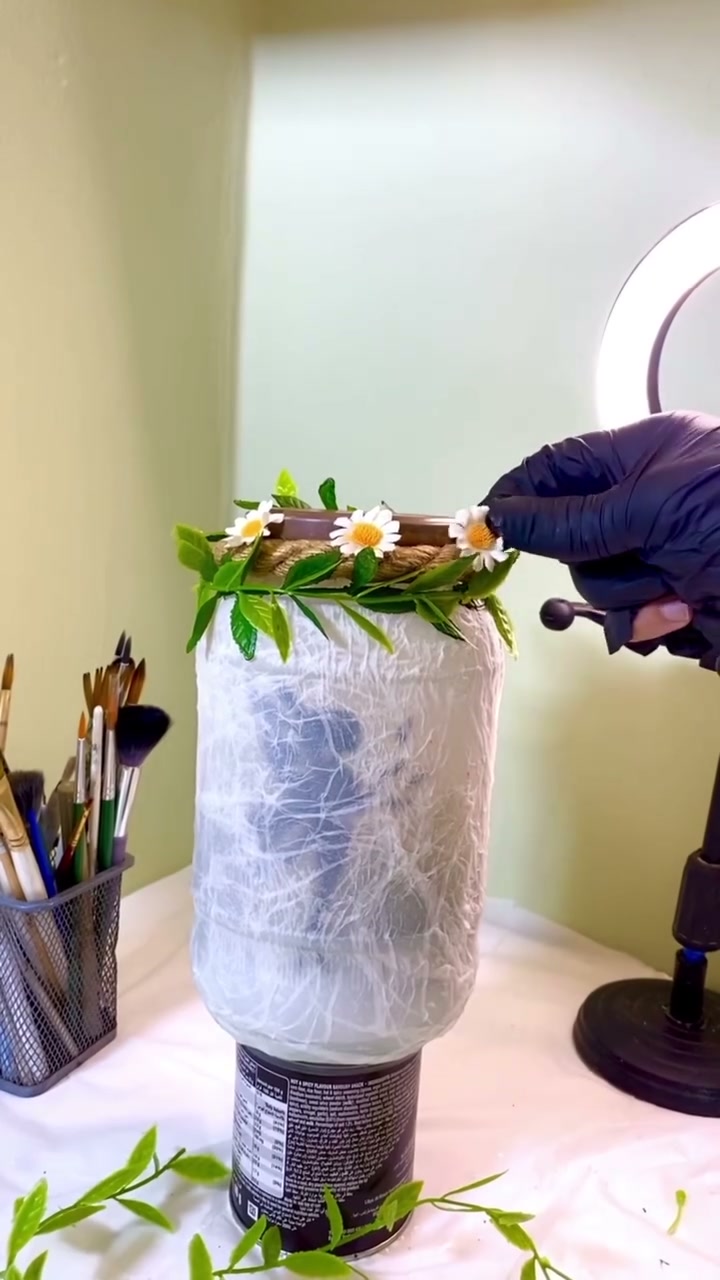
Finish with three or four small flowers tucked between the leaves. Odd numbers look less arranged.
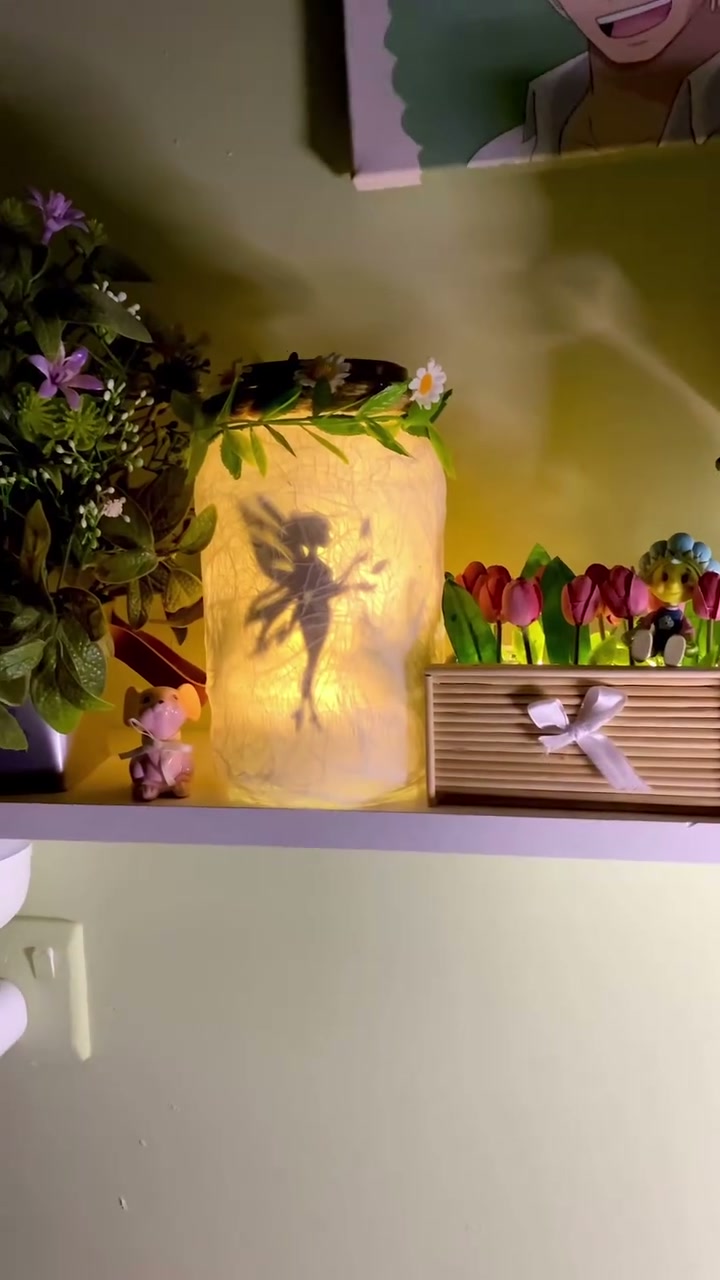
Step 9: Switch it on
Wait until the room is properly dark. A light string with a remote is worth the extra dollar or two here, because you do not have to open the jar every evening.
What usually goes wrong
- The shadow is blurry. The fairy has lifted away from the glass. Even a gap of a few millimetres softens the edge. Press it back with a dry brush and add a dab of glue.
- You can see every LED. The lights are in front of or beside the cutout. Push them down into the fiberfill and towards the back.
- The tissue tears while you glue. The brush is too wet or too stiff. Load less glue and tap, do not drag.
- The fairy looks grey when lit. The marker coat was thin, or only one side was colored. This cannot be fixed once the jar is covered, so hold the cutout up to a lamp before you glue it in.
- Yellow patches after drying. That is thick glue. Thin it with a few drops of water next time.
A note on lights and heat
Use battery or USB LED lights only. No candles and no tea lights: the jar is lined with paper and filled with polyester stuffing, and both burn. LED wire lights stay cool, but switch them off when you leave the house and take the batteries out if the jar goes into storage.
Quick answers
Does it have to be a fairy?
No. Any shape with a clear outline works: a deer, a cat on a fence, a row of pine trees, a child’s name in thick letters. Fine detail is wasted, bold shapes are not.
Can I use a napkin instead of tissue paper?
Yes, if you peel it down to a single layer. Plain white gives the cleanest glow. A printed napkin will show its pattern when the lights are on, which fights with the silhouette.
Is it safe to wash?
No. The tissue is only glued on. Dust it with a dry, soft brush. A coat of clear matte sealer over the dry tissue makes it a little tougher but it still should not get wet.