Glitter Night Light Jar With a Paper Silhouette
Make a kids' night light from a jam jar: white and blue glitter, a cotton cloud lid and a paper silhouette that appears when the LED lights go on.
 By Hakan
Published
Project card
- Time
- 1 hour, plus drying
- Skill
- Beginner
- Cost
- About $7
- Jar
- Pint (16 oz) with lid
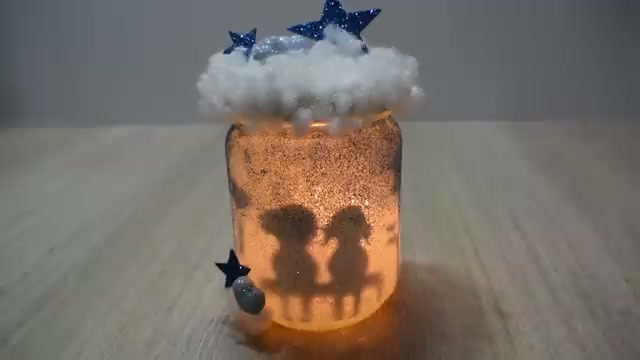
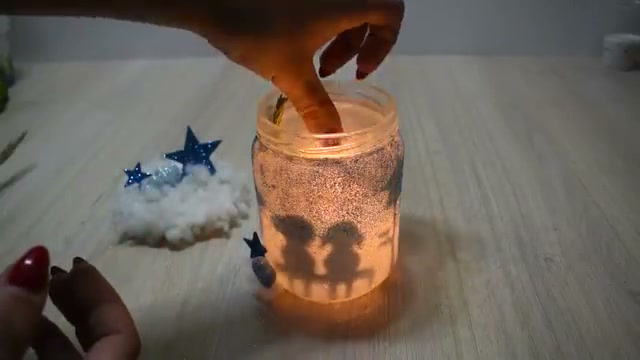
This is a night light for a child’s room, made from a jam jar. The outside is covered in white glitter with a band of blue at the top, a cotton-wool cloud sits on the lid, and when the lights inside are switched on, two paper figures on a bench show up as shadows on the glass.
It is a good project to make together with a child. They can do the glitter and the cloud. You do the cutting.
What you need
- 1 clean glass jar with its metal lid, about a pint (16 oz). A jam jar is ideal
- White school glue (PVA), about 2 tablespoons, and a small plate
- A piece of kitchen sponge
- Fine white glitter, about 2 tablespoons, and fine blue glitter, about 1 teaspoon
- A spoon and a sheet of paper to catch the glitter
- 1 sheet of plain or squared paper, a pencil and small scissors
- A black permanent marker with a thick tip
- A glue stick
- 10 to 12 cotton balls
- A hot glue gun and 1 glue stick
- A small piece of blue glitter foam sheet (glitter EVA foam), or blue card, for the stars
- 1 short string of battery-operated fairy lights (also sold as “copper wire string lights” or “micro LED lights”): 10 to 20 LEDs on 3 to 6.6 ft (1 to 2 m) of thin wire, warm white, with a flat battery box that takes 2 or 3 coin cells
Which lights to buy
Search for battery operated fairy lights or copper wire string lights. What you want is a hair-thin bendable wire with tiny LEDs along it and a small battery box at one end. Do not buy an LED strip. A strip is a flat, stiff tape that needs a plug or a USB port and is made for sticking under shelves.
- Length: a short string is all a jam jar needs: 10 LEDs on 3 ft (1 m) or 20 LEDs on 6.6 ft (2 m).
- Battery box: the flat kind that takes 2 CR2032 coin cells is the easiest to hide in a jar. The larger box for 3 AA batteries runs far longer between changes but is harder to tuck away.
- Colour: “warm white” gives a candle-like glow. “Cool white” looks blue behind glass.
- Nice to have: a timer or a remote, so you do not have to open the jar to switch it on.
Step 1: Cover the jar in glue
Squeeze some white glue onto the plate. Dab it all over the outside of the jar with the sponge, in a thin even layer. Leave the screw threads at the top clean so the lid still closes.
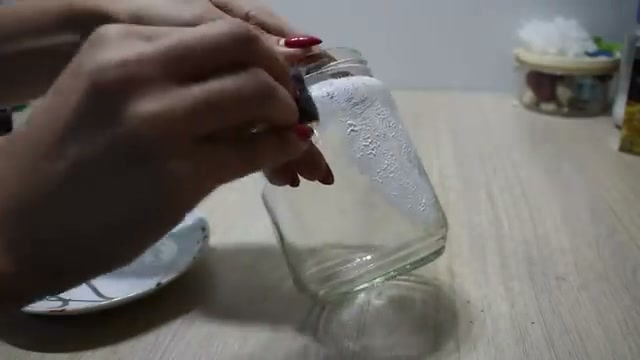
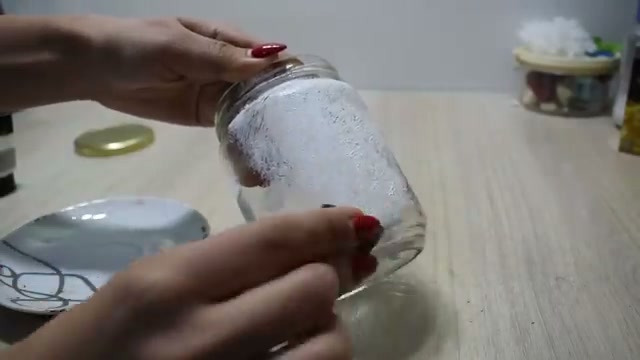
Work fairly quickly. The glitter has to go on while the glue is still wet.
Step 2: Sprinkle on the white glitter
Hold the jar over the sheet of paper and spoon white glitter over it, turning as you go, until the whole surface is covered. Shake the extra off onto the paper and tip it back into the pot.
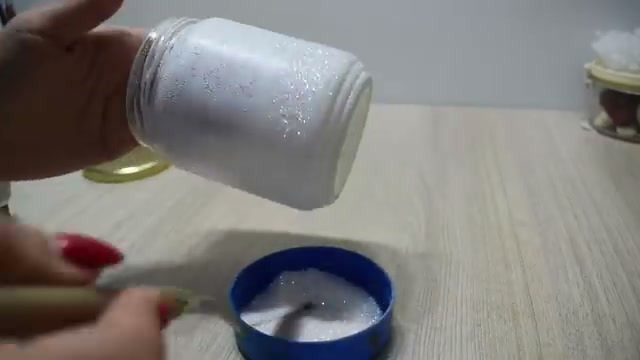
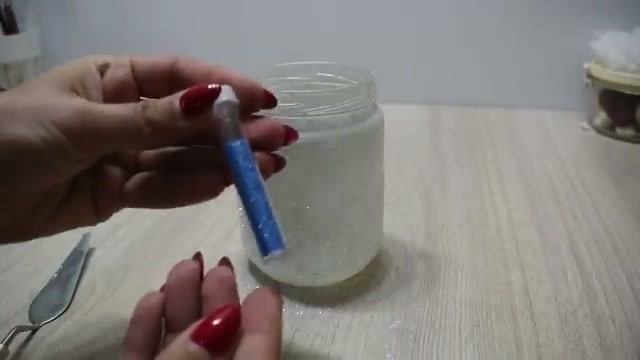
Step 3: Add a blue sky at the top
While the glue is still tacky, shake a little blue glitter around the top third of the jar. Let it fall unevenly so it fades into the white. If the glue has already dried, dab a little more around the top first.
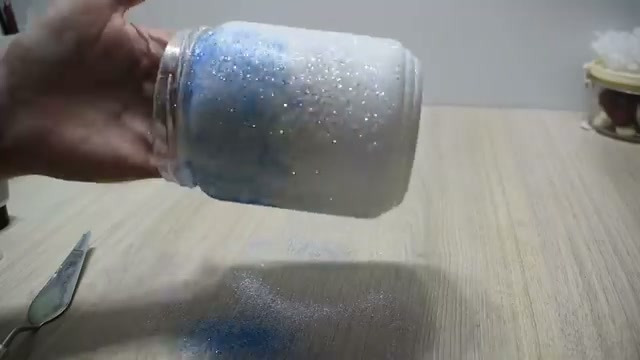
Stand the jar somewhere safe and let it dry for at least an hour.
Step 4: Draw, colour and cut the silhouette
Draw a simple scene on paper, small enough to fit on one side of the jar: here it is two children sitting on a bench, a birdhouse on a pole and a small heart. Keep the shapes solid and avoid thin lines. Squared paper helps with keeping the bench straight.
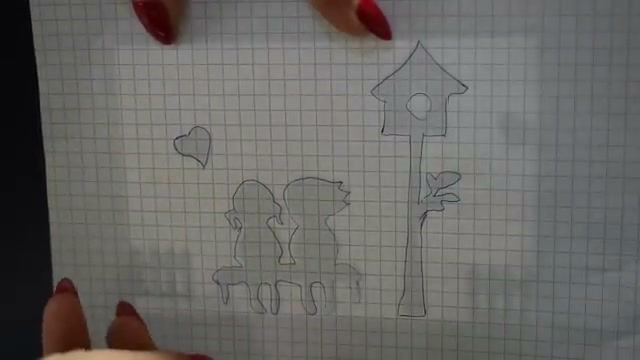
Colour the shapes in solid black with the marker, front and back.
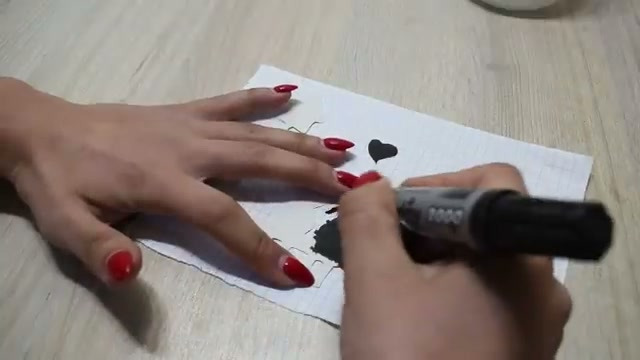
Cut them out. Cut the bench and the two figures as one piece. It is much easier to glue in than three separate bits.
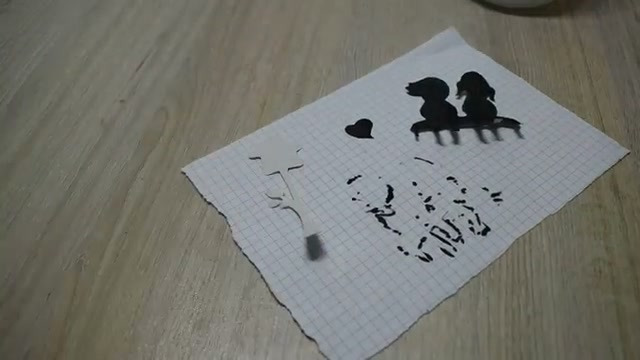
Step 5: Glue the figures inside the jar
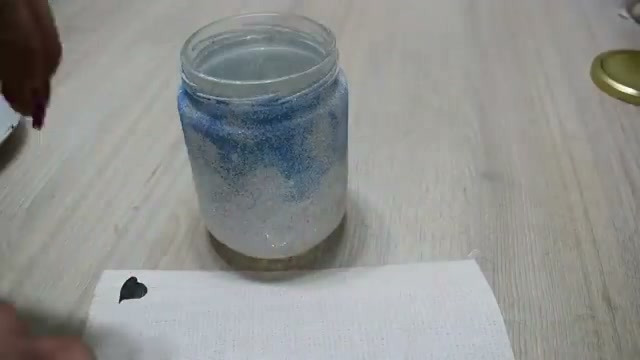
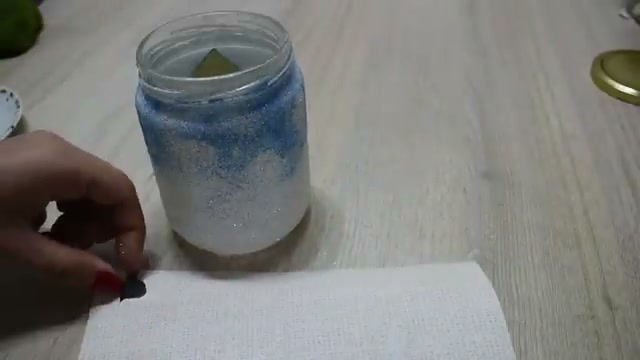
Rub glue stick on the front of each cut-out and press it against the inside of the glass, with the bench near the bottom. Push it flat with a fingertip or the end of a pencil. From the outside you will barely see it through the glitter, and that is the point: it only appears when the light is on.
Step 6: Make the cloud lid
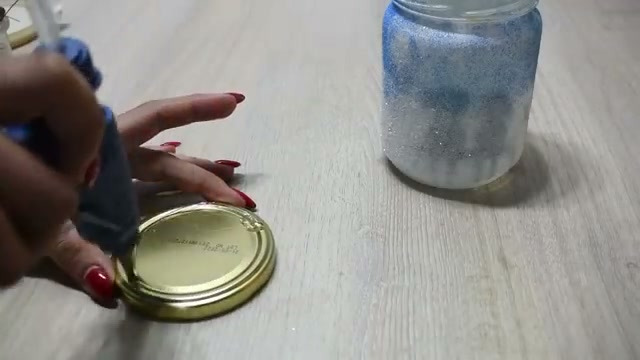
Cover the top of the lid with hot glue, a section at a time.
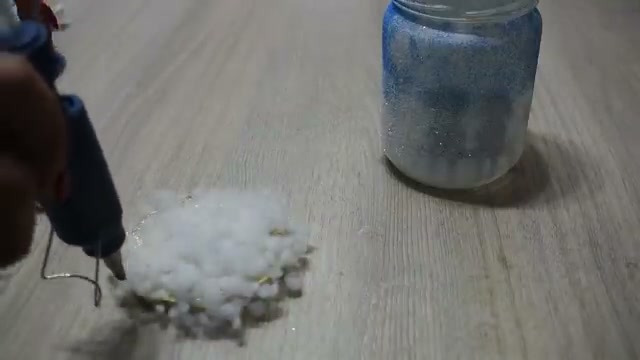
Pull the cotton balls apart a little so they are fluffy, and press them onto the glue until the lid is hidden under a cloud that hangs slightly over the edge.
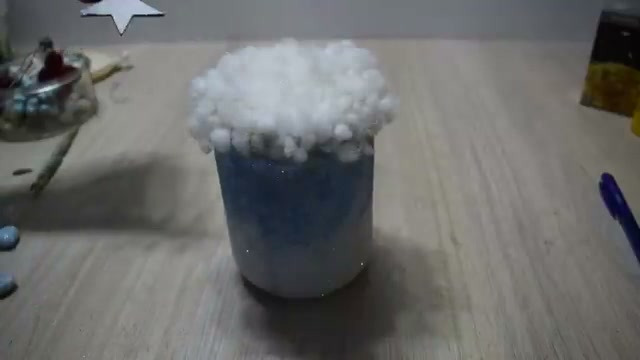
Step 7: Add the stars
Cut one large and two small stars from blue glitter foam. Glue them into the cloud so they stand up, and stick one more small star on the front of the jar near the bottom.
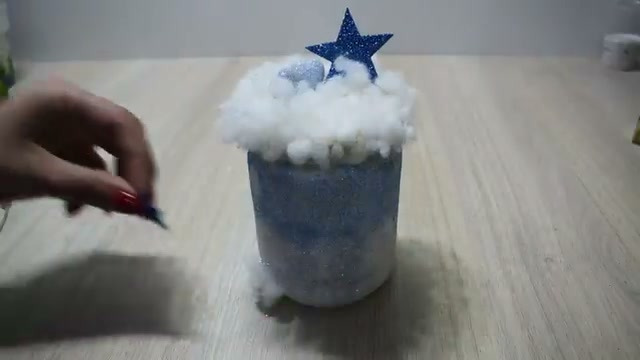
Step 8: Put the lights in
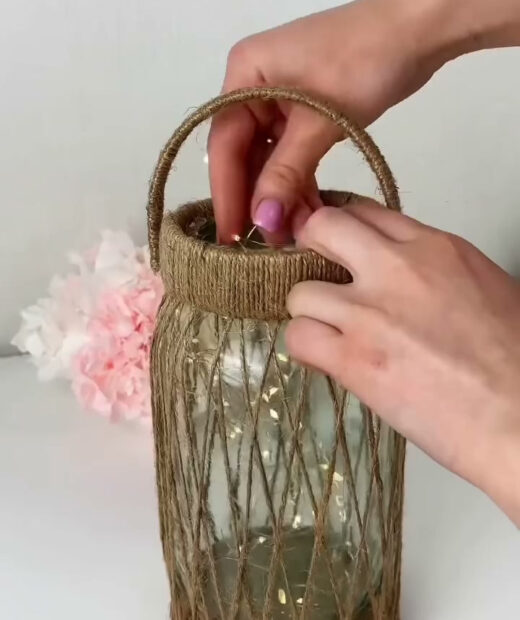
The light is a short string of battery fairy lights: tiny LEDs on a thin wire, with a flat battery box at one end. Slide the switch on the battery box to on.
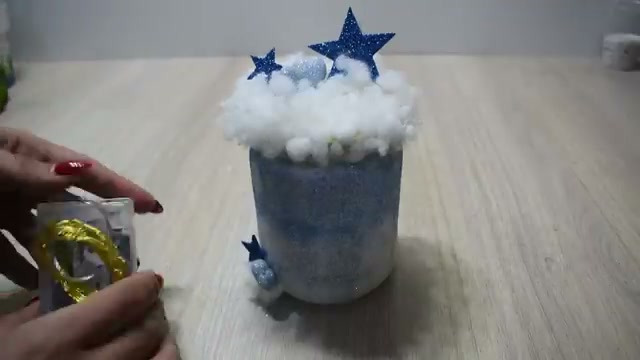
You do not have to unwind the whole string. Leave the wire in a loose coil, or bunch it into a ball in your hand, so the LEDs point in all directions.
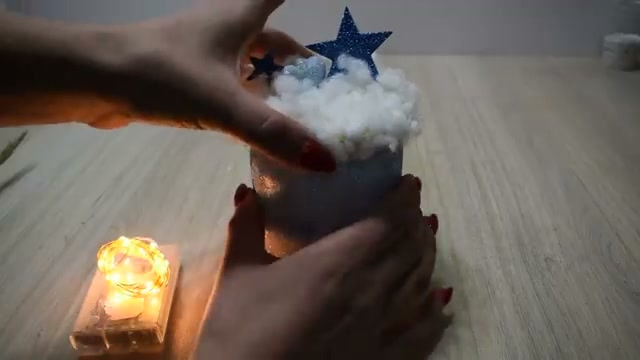
Lower the coil into the jar so it sits in the middle, behind the paper figures and not pressed against them. Rest the battery box on top of the lights, switch side up, and put the cloud lid back on. To turn the night light off, lift the lid and slide the switch.
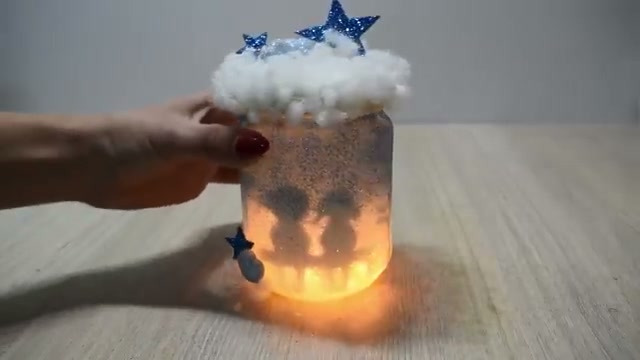
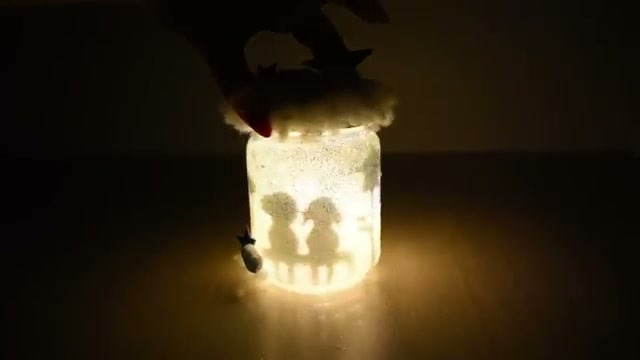
In the dark, the glitter spreads the light and the silhouette stands out sharply.
Silhouette ideas that are easy to cut
- A cat sitting on a fence
- A row of houses with one tall tree
- A rocket and three stars
- An elephant holding a balloon
- The child’s own initial in thick block letters
Draw your own or trace a shape you have the right to use, and keep it under 3 in (8 cm) wide so it fits the curve of the jar without creasing.
What usually goes wrong
- Bald patches in the glitter. The glue dried before the glitter reached it. Dab on a little more glue and sprinkle again.
- Glitter falls off for weeks. Normal for the first few days. To stop it, brush a thin coat of watered-down white glue over the dry glitter, or spray it with clear varnish outdoors.
- The shadow is faint. The paper was coloured on one side only, or the glitter layer is very thick. Black card gives a stronger shadow than coloured-in paper.
- The cut-out peels away from the glass. Glue stick dries out. A thin layer of white glue holds for longer.
Safe for a bedroom
Use battery LED lights only. The lid is covered in cotton wool and there is paper inside the jar, so a candle is out of the question. Choose lights with a timer if you can, so the jar switches itself off after the child is asleep, and stand it on a shelf, not on the bed. Glitter and small foam stars are not for children under three.