DIY Twine-Wrapped Mason Jar Lantern With a Handle
Turn a big glass jar into a rustic lantern with a jute twine net, a burlap base and a carrying handle. No knots, just hot glue. 10 steps with photos.
 By Hakan
Published
Project card
- Time
- About 1.5 hours
- Skill
- Some practice
- Cost
- About $8
- Jar
- Half gallon or larger
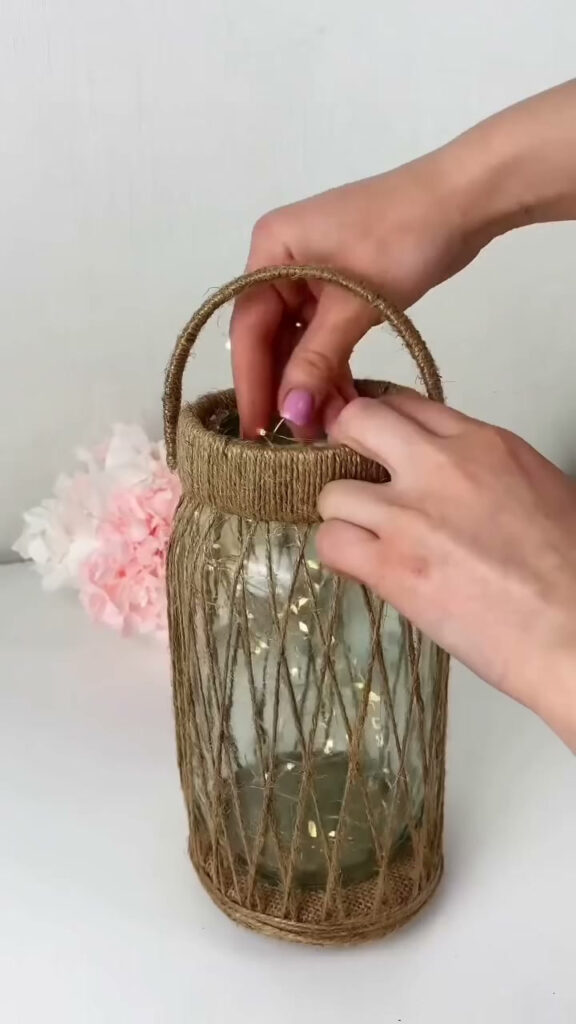
Garden-centre lanterns with a rope net and a carrying handle cost real money. This one is a big glass jar, a roll of jute twine and an offcut of burlap. The net looks woven, but nothing here is knotted. Every strand is glued at the bottom, pulled up at a slant and glued again at the top.
It takes a bit longer than most jar projects, mainly because there are a lot of strands to place. None of the steps is hard on its own.
What you need
- 1 large clear glass jar, half gallon or bigger. The one in the photos holds about 3 litres and is 10 in (25 cm) tall
- Corrugated cardboard from a shipping box, about 8 x 16 in (20 x 40 cm), for the two base discs
- Thin card, such as a cereal box, for the collar: a strip 1.5 in (4 cm) wide and long enough to go once round the neck of the jar
- Burlap (hessian) fabric, about 12 x 24 in (30 x 60 cm)
- Jute twine, 2 mm thick, about 100 ft (30 m). One ordinary craft roll is enough
- A hot glue gun and 6 to 8 glue sticks
- A permanent marker and sharp scissors
- Something stiff but bendy for the handle core, about 14 in (35 cm) long: a flat plastic strip, an old plastic headband or 2 mm craft wire
- 1 string of battery-operated fairy lights (also sold as “copper wire string lights” or “micro LED lights”): 50 LEDs on about 16 ft (5 m) of thin wire, warm white, with a battery box
Which lights to buy
Search for battery operated fairy lights or copper wire string lights. What you want is a hair-thin bendable wire with tiny LEDs along it and a small battery box at one end. Do not buy an LED strip. A strip is a flat, stiff tape that needs a plug or a USB port and is made for sticking under shelves.
- Length: for a jar this size, 50 LEDs on 16 ft (5 m). A 20-LED string looks lost in a 3 litre jar.
- Battery box: the flat kind that takes 2 CR2032 coin cells is the easiest to hide in a jar. The larger box for 3 AA batteries runs far longer between changes but is harder to tuck away.
- Colour: “warm white” gives a candle-like glow. “Cool white” looks blue behind glass.
- Nice to have: a timer or a remote, so you do not have to open the jar to switch it on.
Step 1: Trace the base of the jar and cut two circles
Stand the jar on the cardboard and draw around it with the marker. Cut out the circle, then use it as a pattern to cut a second one the same size. These two discs become the foot of the lantern, with all the twine ends hidden between them.
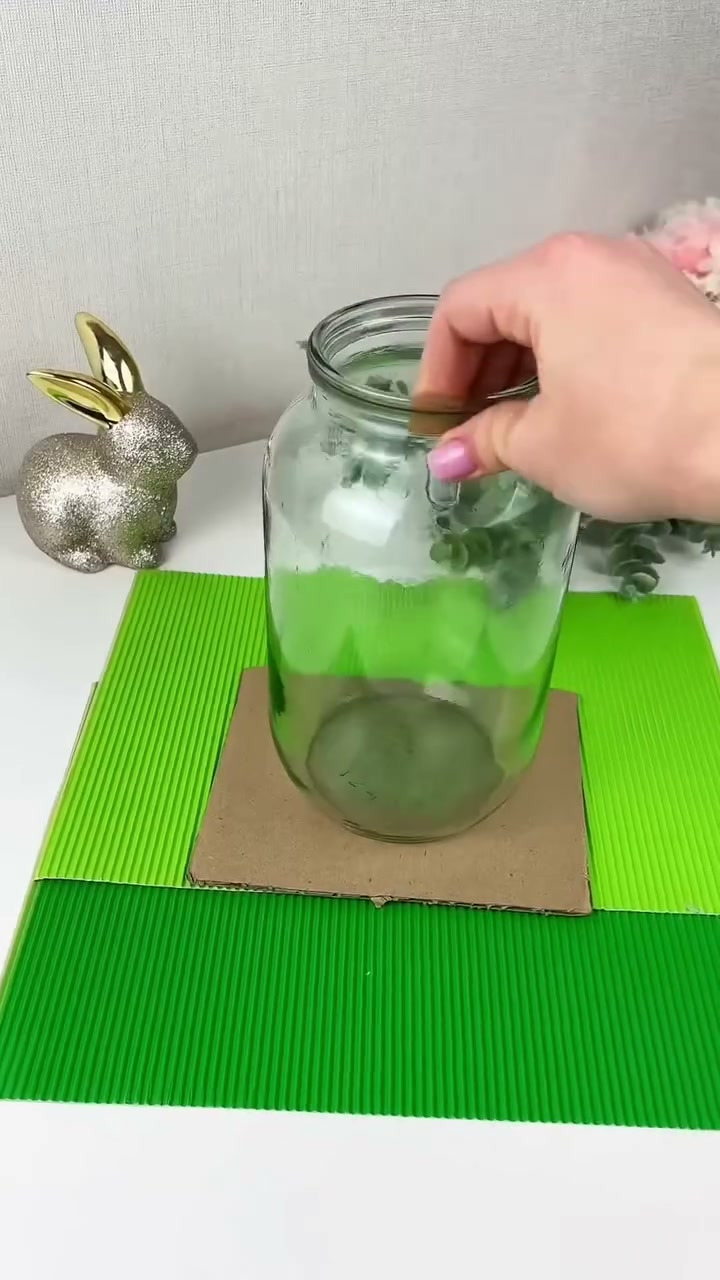
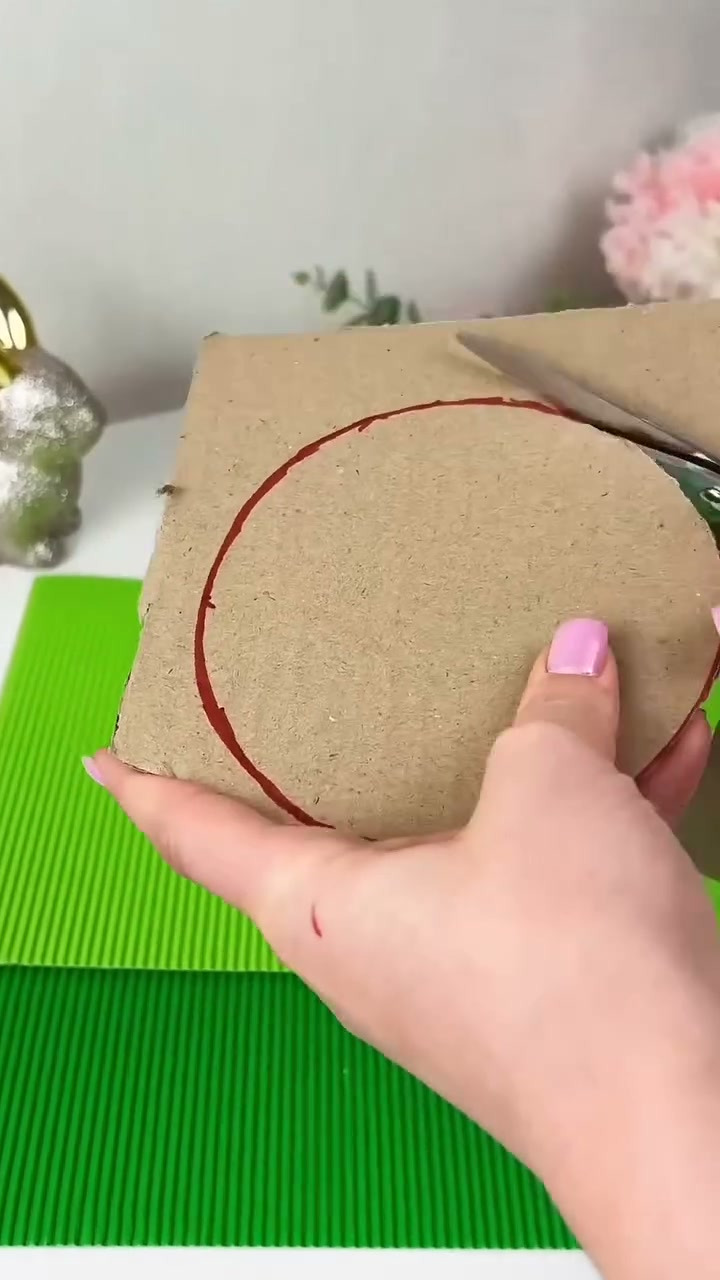
Step 2: Cover both circles with burlap
Lay each circle on the burlap and cut around it, leaving a border about an inch (2 to 3 cm) wide. Run hot glue around the edge of the cardboard, then fold the border over in small pleats and press it down. One side of each disc is now smooth burlap and the other side shows the folded edges.
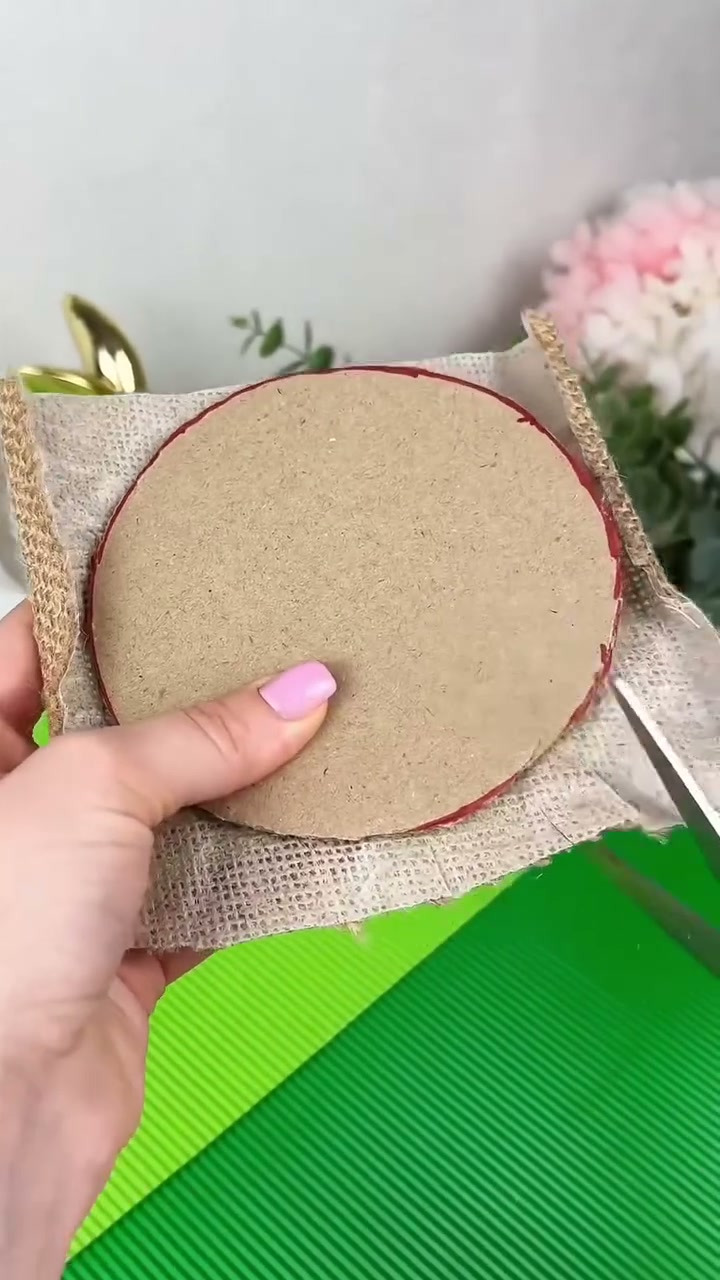
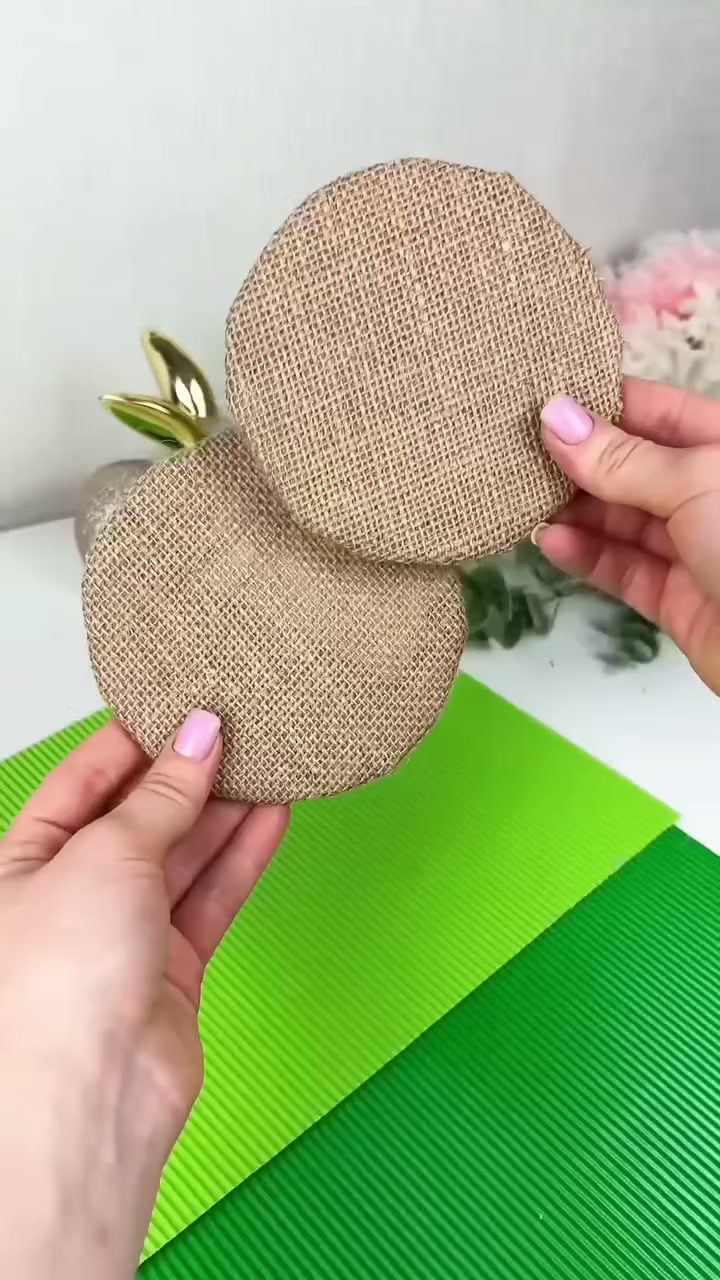
Step 3: Cut the twine and glue the strands in a ring
Cut 24 pieces of twine, each about twice the height of the jar. That sounds long, but the strands travel up at a slant and you need some spare to hold on to. Cutting them all against the first one keeps them even.
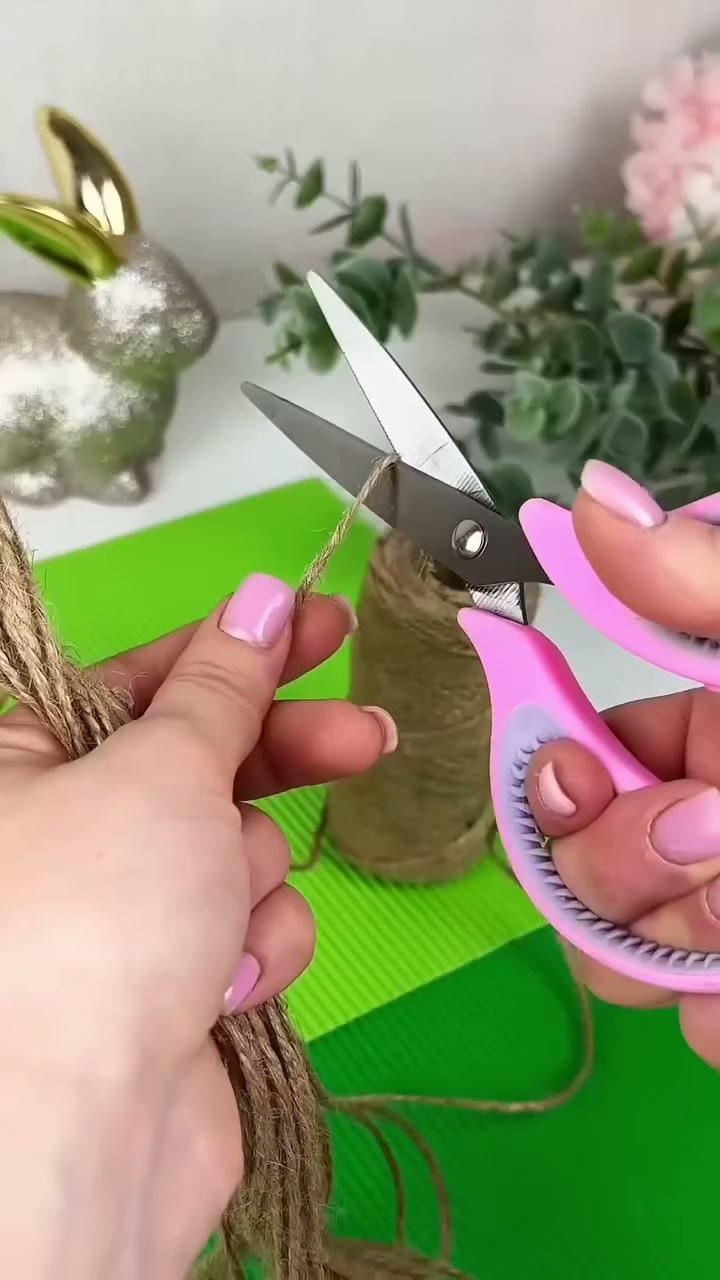
Turn one disc so the folded side faces up. Glue the end of each strand to it, spaced evenly around the rim like the spokes of a wheel, with the long ends pointing outwards. An easy way to space them: place four strands like a cross first, then fill each quarter with five more.
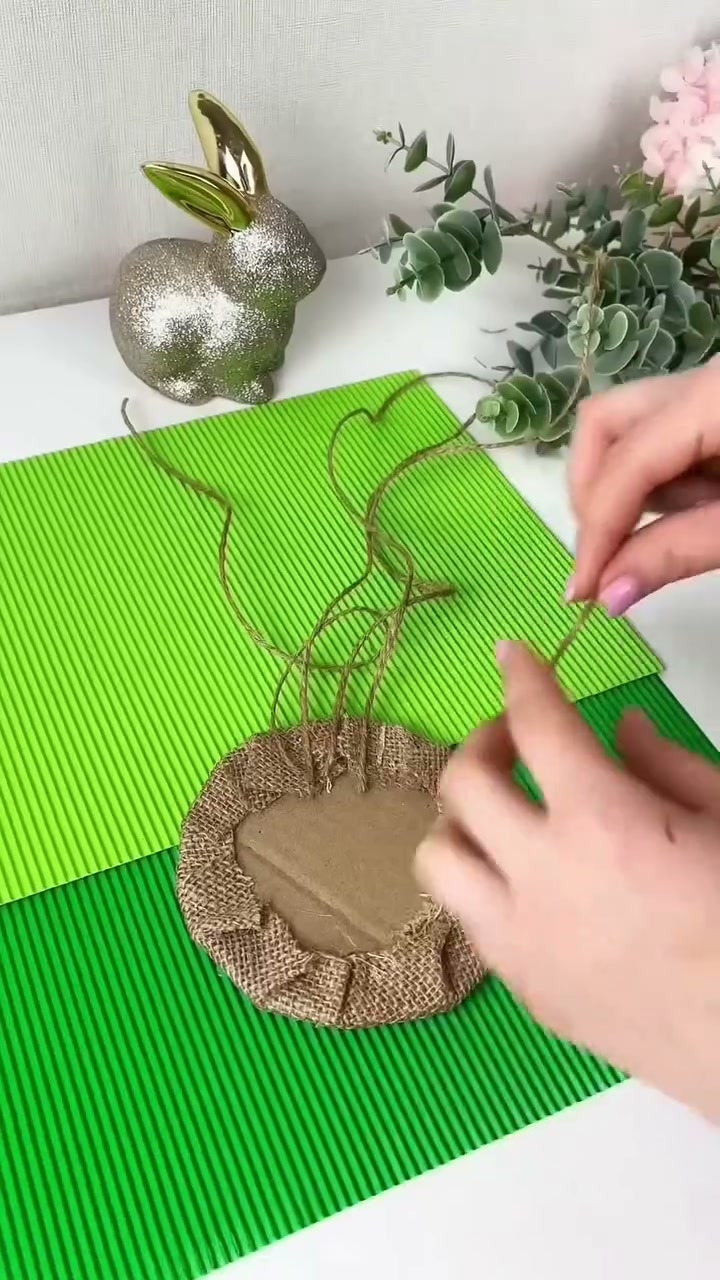
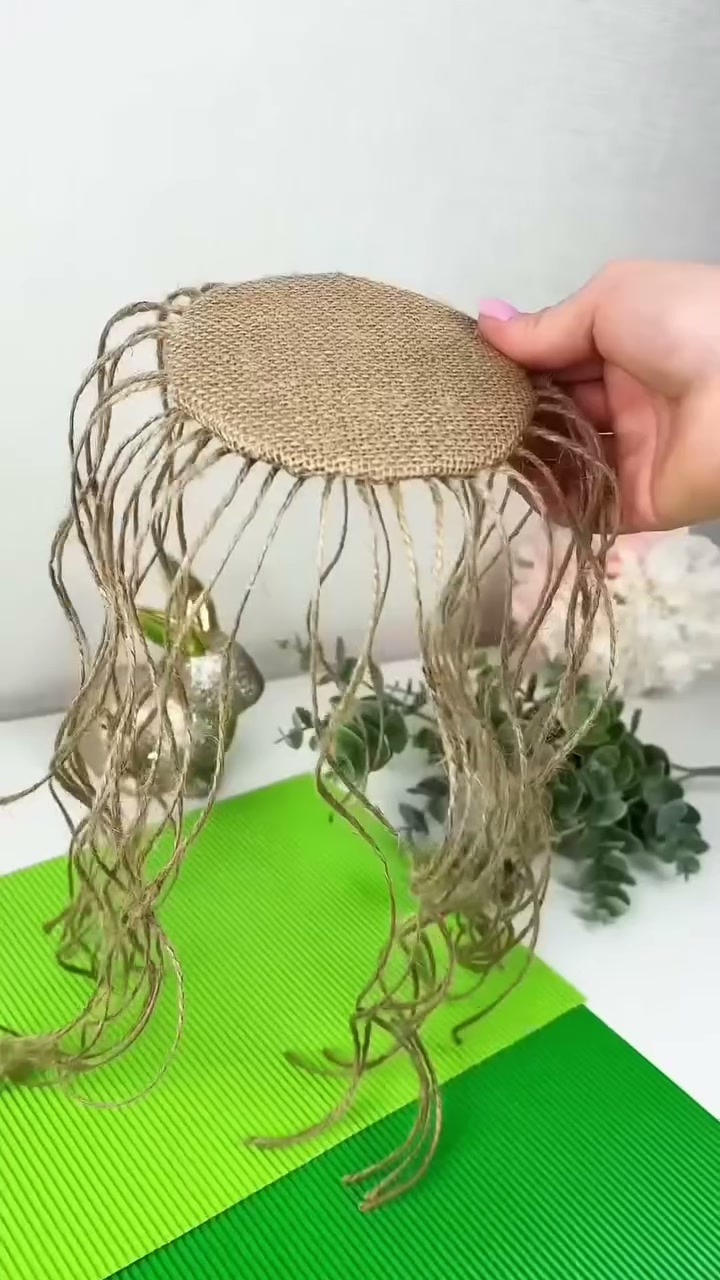
Step 4: Close the base and glue the jar on
Cover the folded side with hot glue and press the second disc on top, folded side down, so the twine ends are sandwiched in the middle. Then run a ring of glue around the bottom of the jar and set it down in the centre of the base. Hold it for a minute.
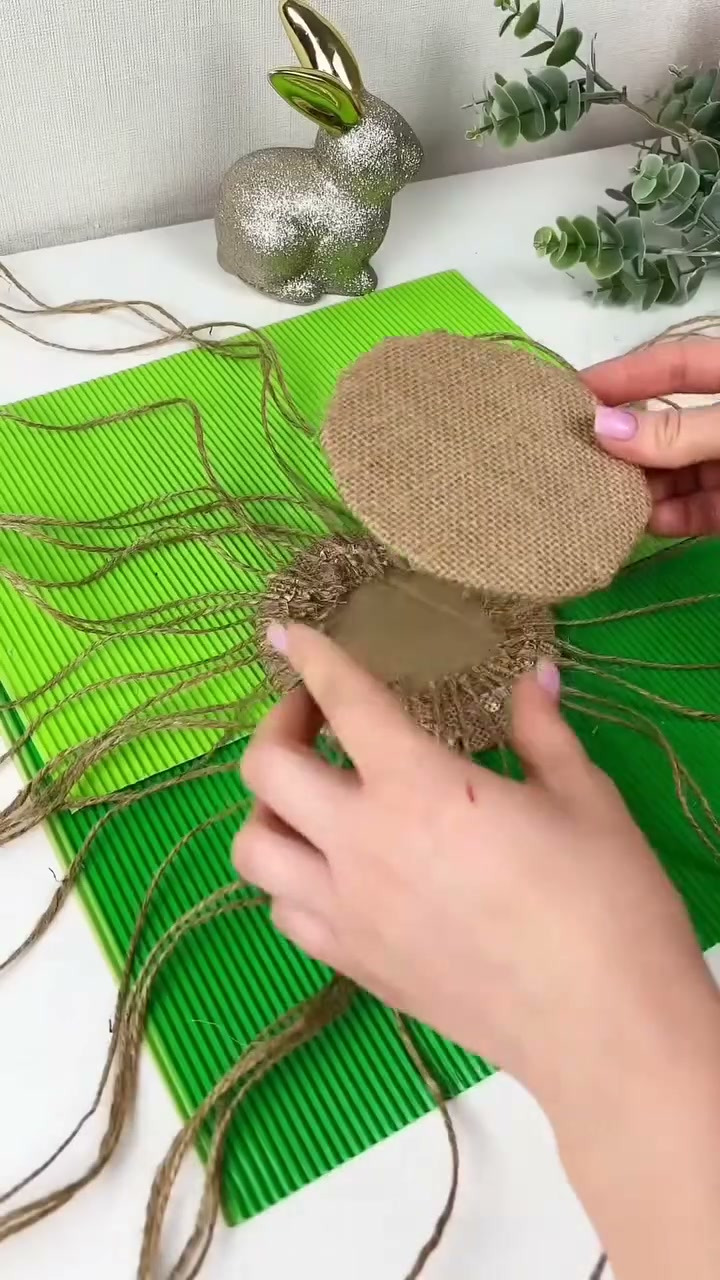
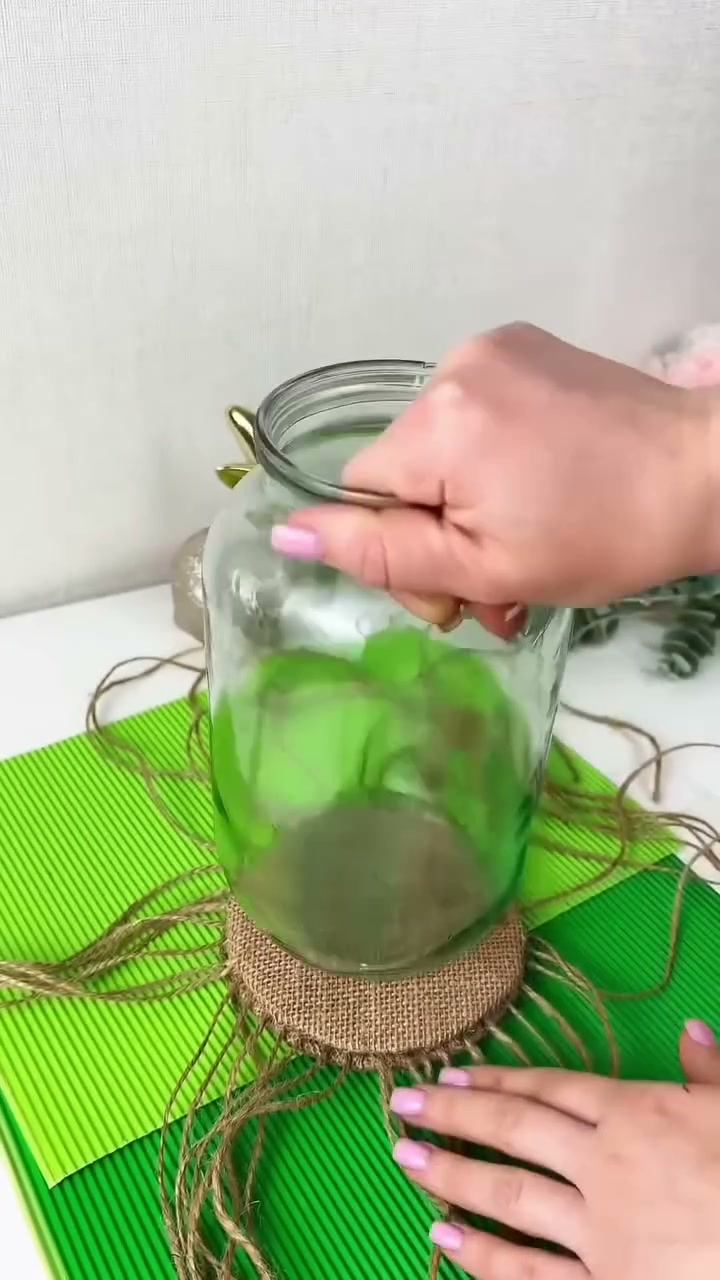
Step 5: Build the net in two passes
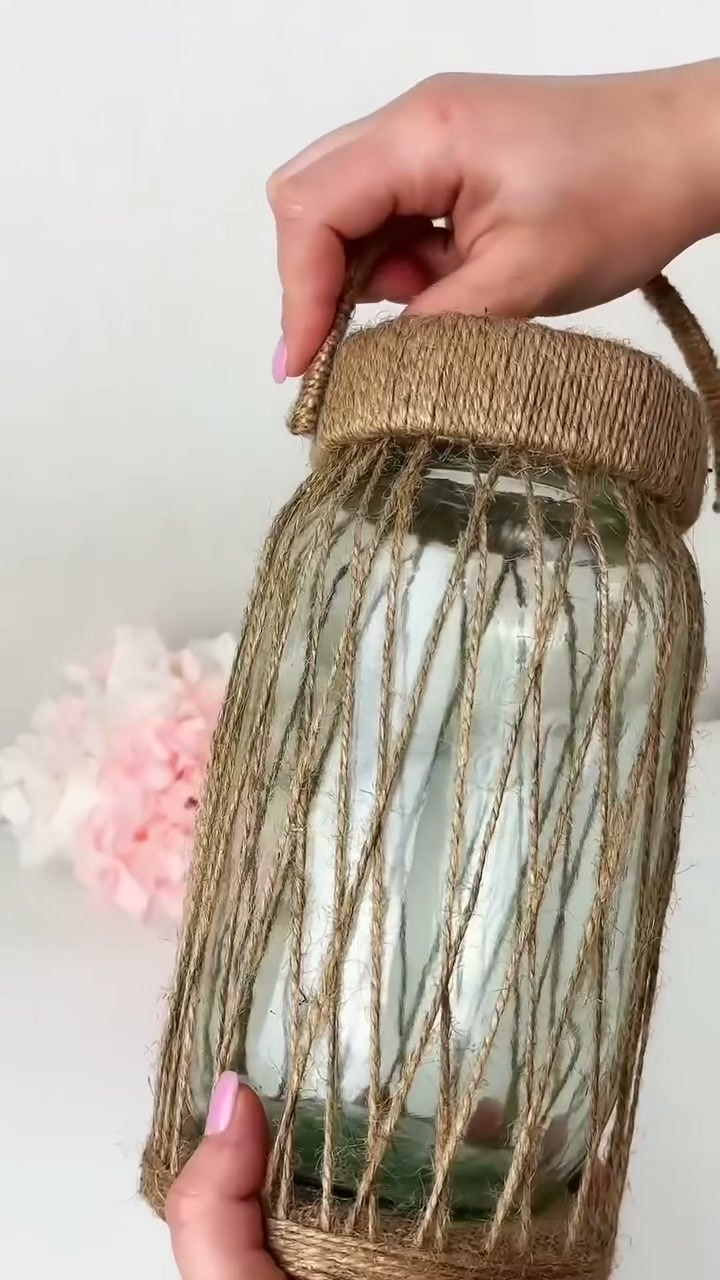
This is the part that looks clever and is not. Take every second strand, pull it up the side of the jar at a slant to the right, and fix it to the neck with a dot of hot glue. Keep the slant the same each time: a strand should arrive at the neck about a quarter of the way round from where it started.
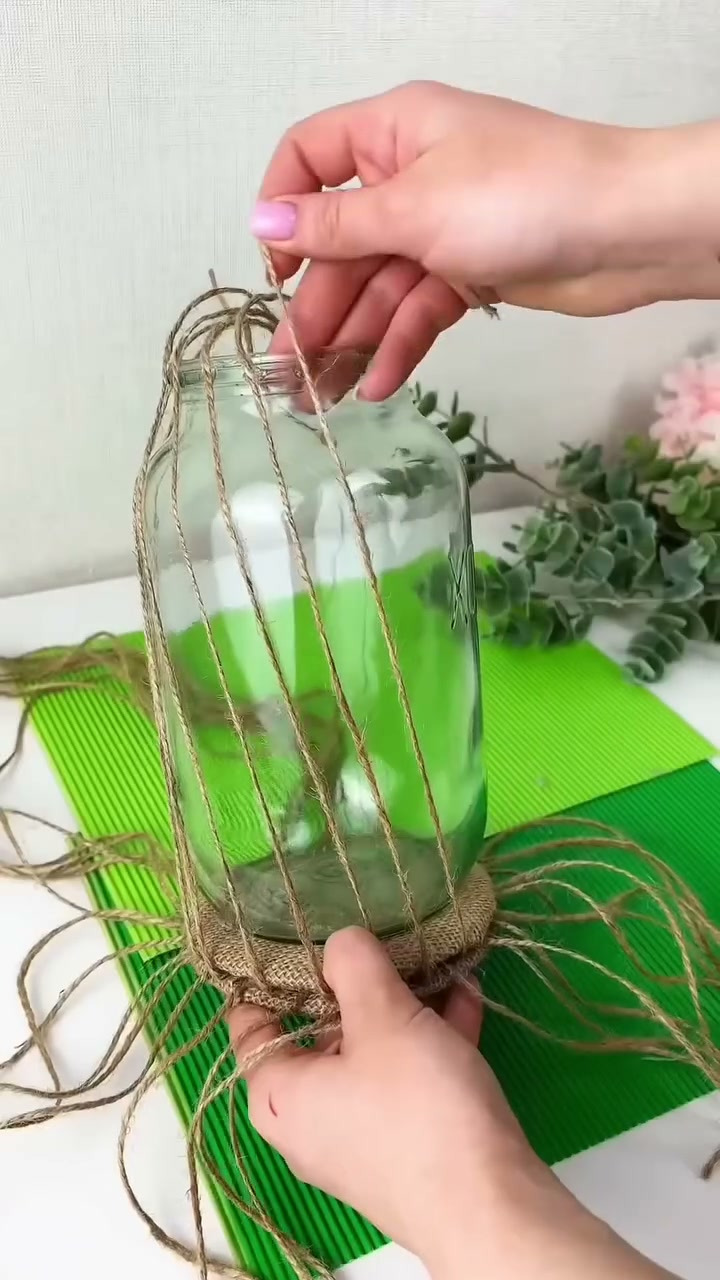
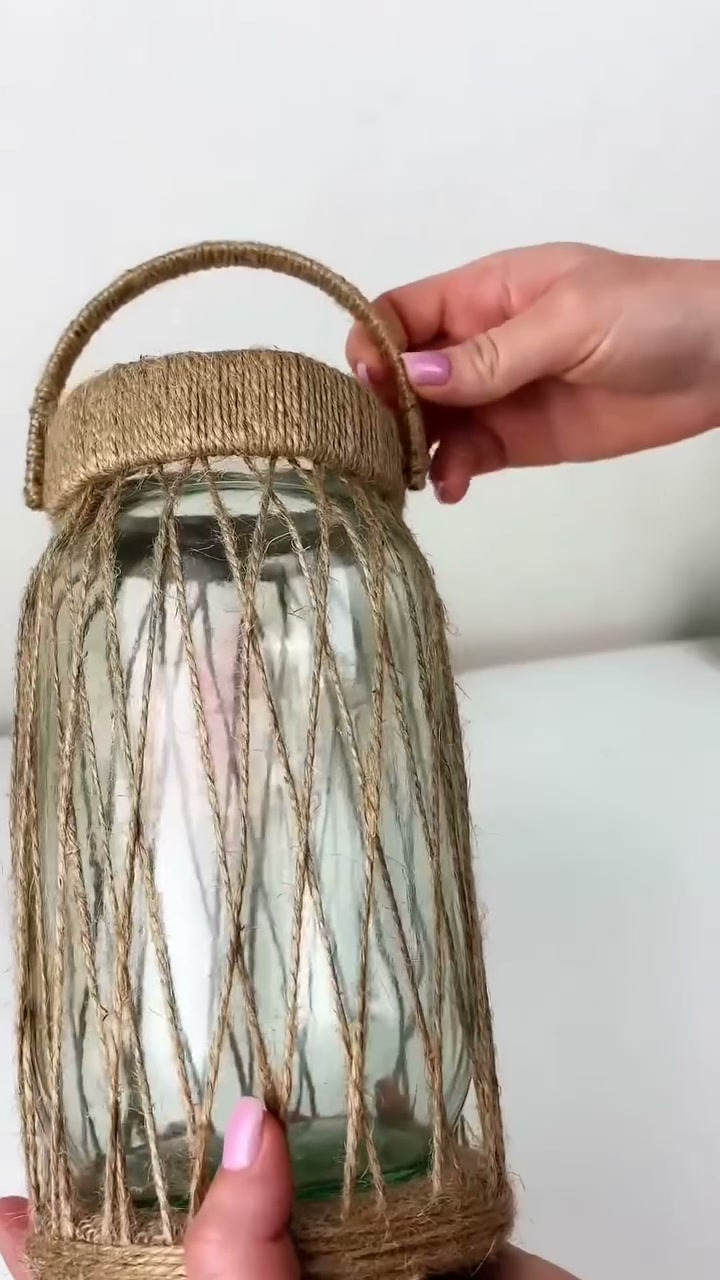
Now do the same with the strands you skipped, but lean them to the left. They cross over the first set and the diamonds appear by themselves.
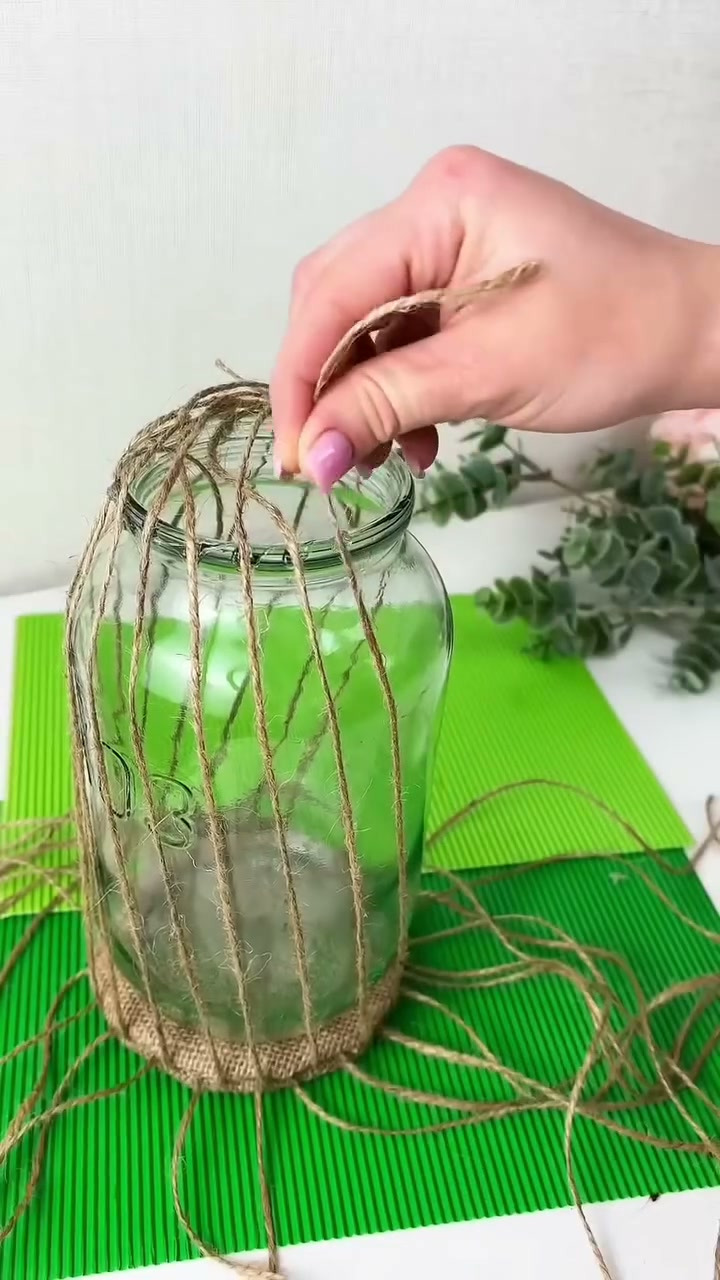
Go round once more and tighten any strand that sags before the glue has fully set. The net should sit snug against the glass.
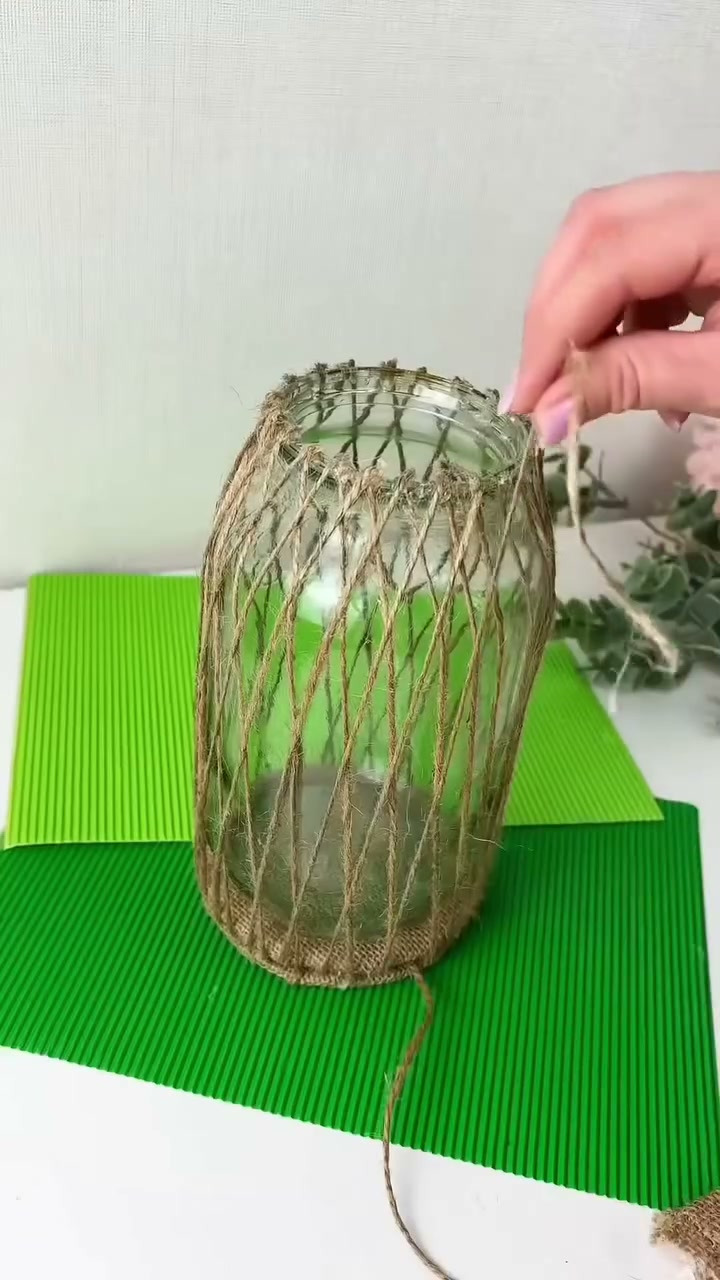
Step 6: Trim the tops
Gather the loose ends above the rim and cut them off level with the top of the jar. Do not worry about how the neck looks right now. The collar covers all of it.
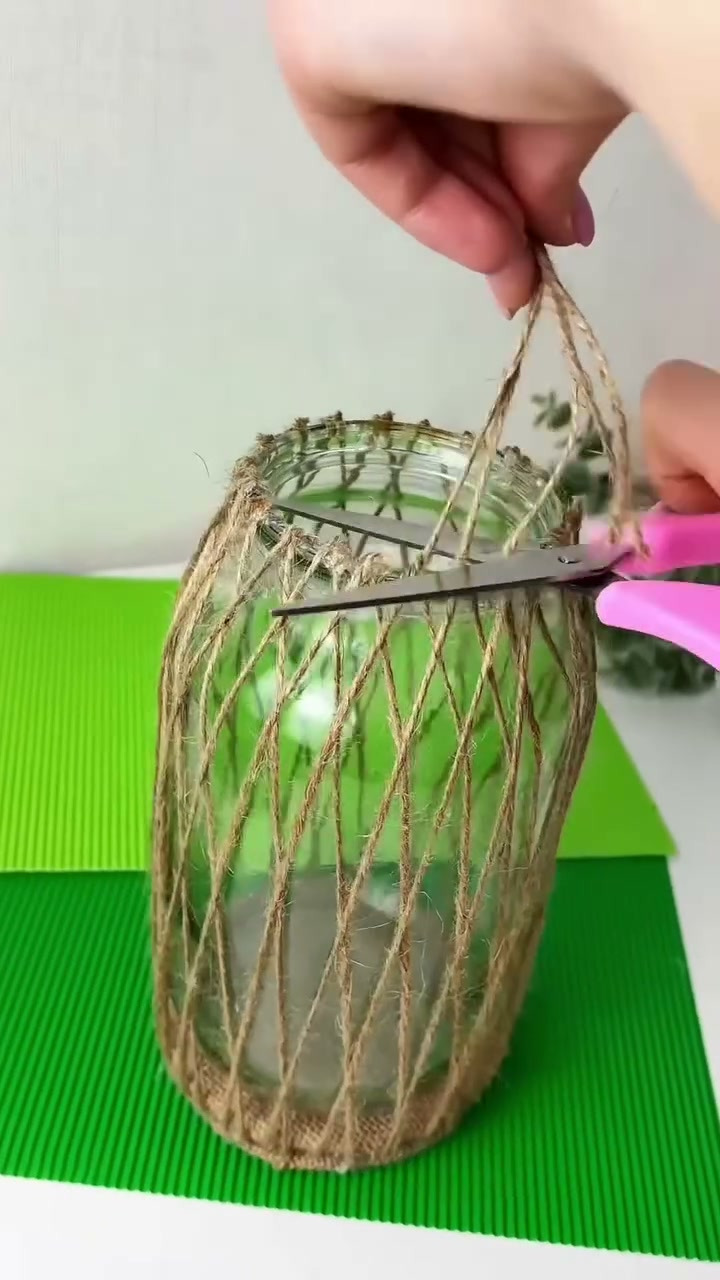
Step 7: Make the collar
Wrap the cardboard strip tightly in twine from one end to the other, with a line of glue along the strip to keep the turns from sliding. Then glue the wrapped strip around the neck of the jar, over the cut ends, and join it at the back.
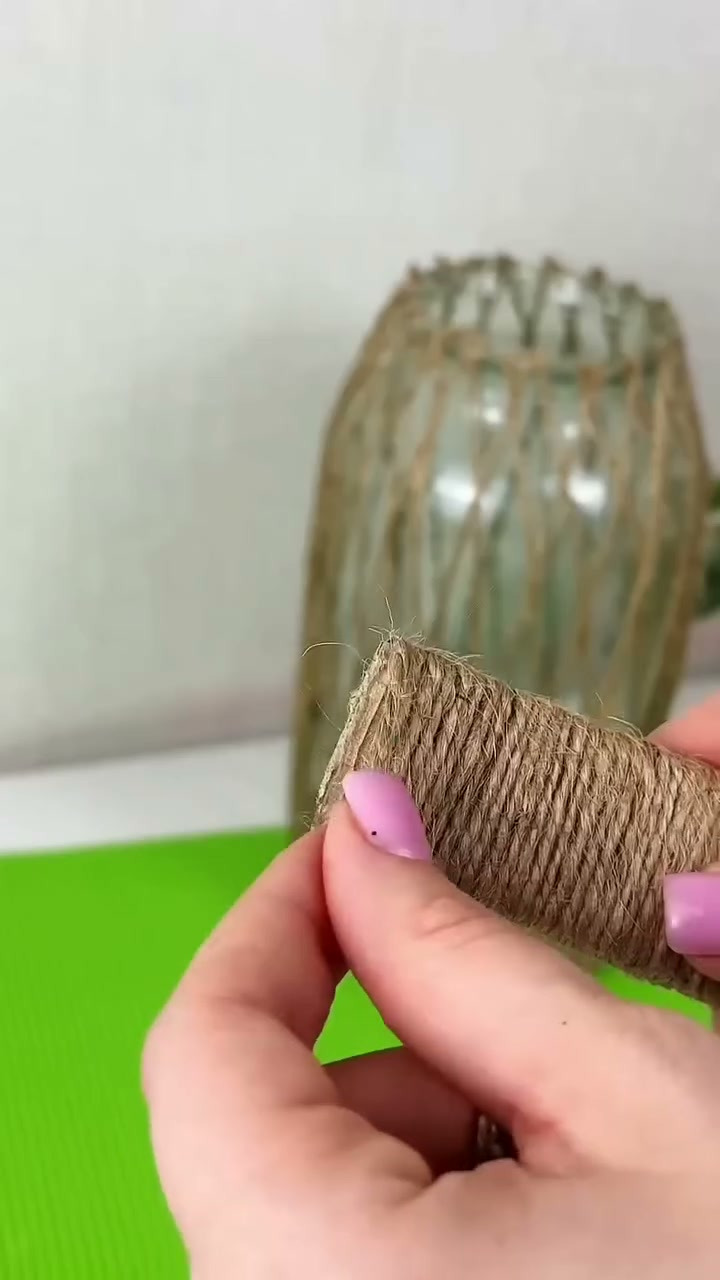
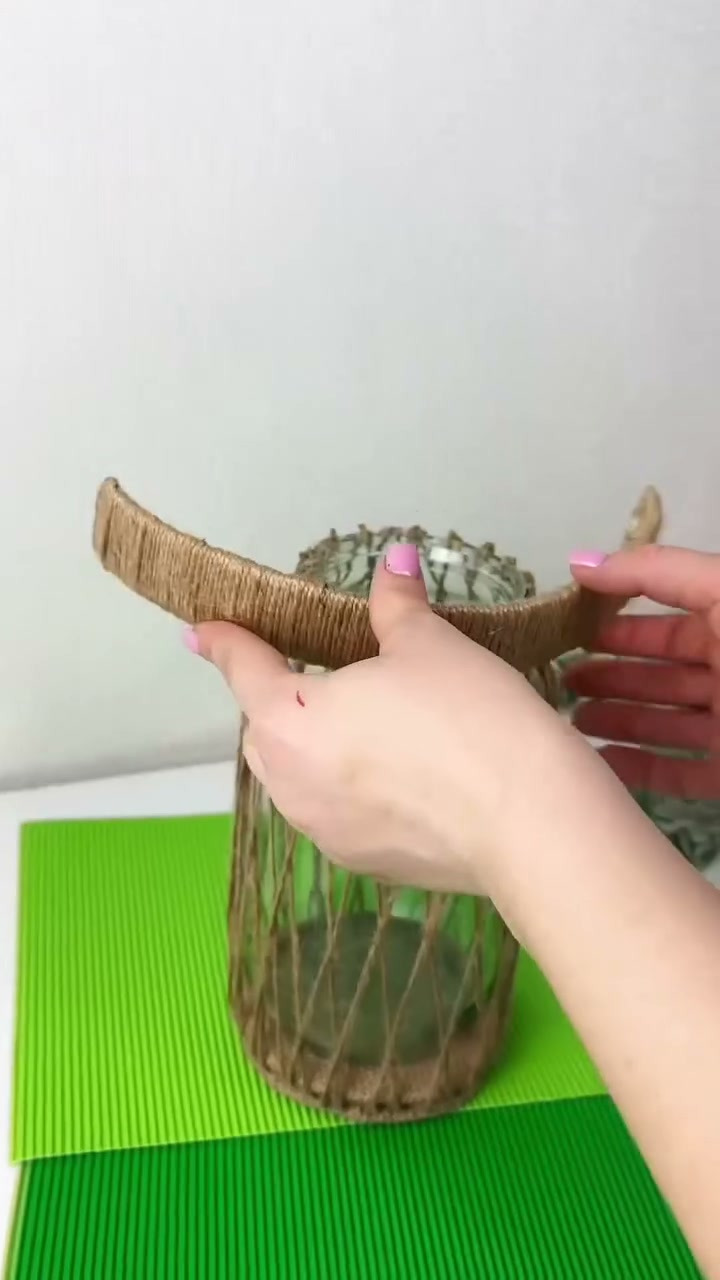
Step 8: Tidy the bottom edge
Run a bead of glue around the edge of the base and wind twine over it three or four times, so the join between the jar and the burlap foot disappears under a neat band.
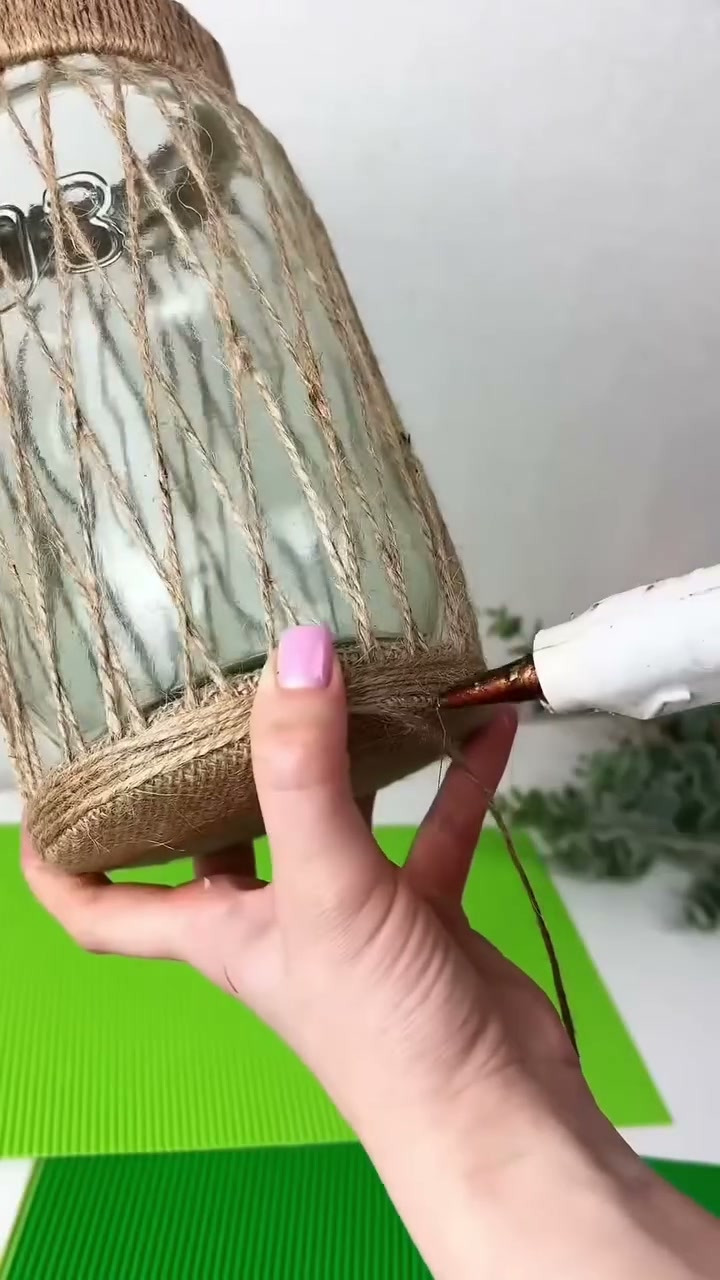
Step 9: Add the handle
Bend the plastic strip or wire into an arch and check it against the jar. It should rise about a hand’s width above the rim. Put a dot of glue on one end, start the twine there and wrap the whole length tightly, gluing again at the other end.
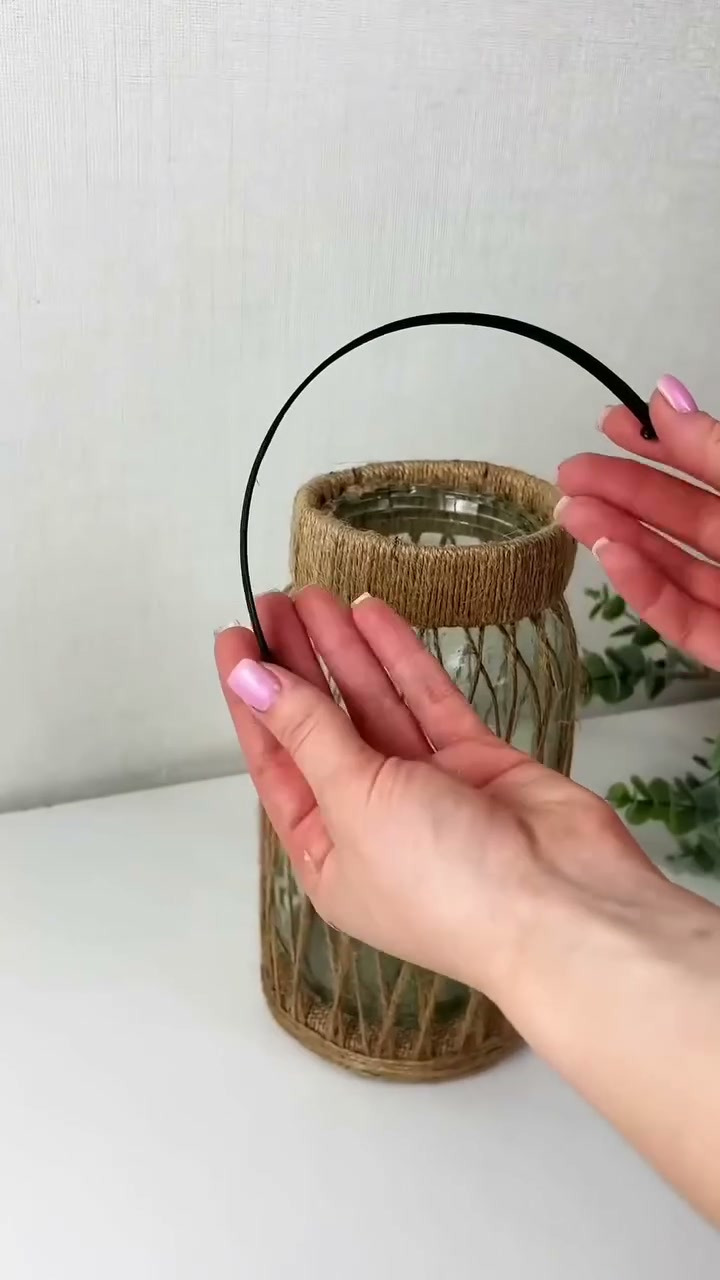
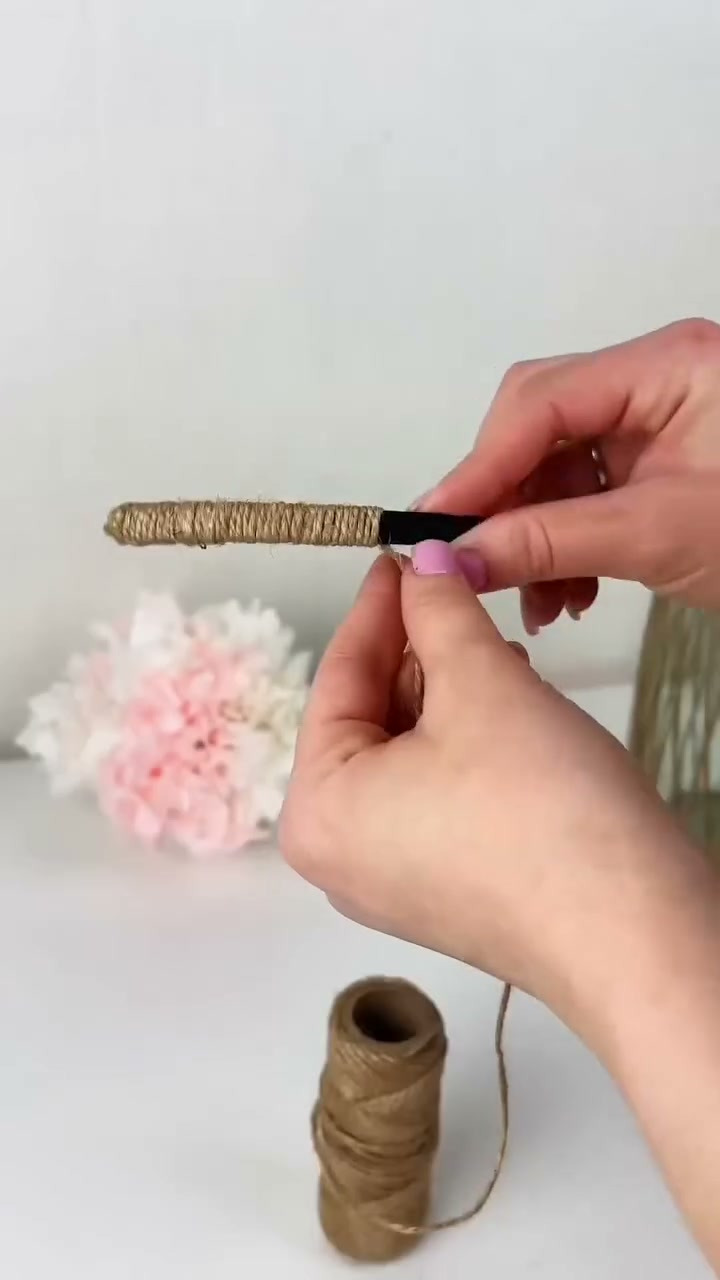
Glue each end of the handle to the inside of the collar, on opposite sides, and hold until the glue is hard.
Step 10: Drop in the lights
Feed a string of battery fairy lights into the jar and let it fall in loose loops. Tuck the battery pack under the last loops near the top so you can reach the switch.
A word about that handle
A jar this size weighs two to three pounds empty, and the handle is held on by hot glue and cardboard. Treat it as decoration. Carry the lantern with a hand under the base, and do not hang it from the handle with anything heavy inside. If you want a handle that really carries the weight, twist a loop of thick wire under the rim of the jar before you fit the collar and anchor the handle wire to that.
What usually goes wrong
- The diamonds are uneven. The strands were not spaced evenly on the base, or the slant changed halfway round. Fix the spacing at step 3. It cannot be rescued later.
- Strands sag after a day. They were glued at the neck without being pulled taut. Lift the collar edge, pull and re-glue.
- Glue strings everywhere. Normal with hot glue and jute. Wave a hair dryer over the finished lantern for a few seconds and they shrivel away.
- Burned fingertips. Press twine into hot glue with the back of a spoon, not with a finger.
Lights only, no candle
The outside of this jar is covered in dry jute, which catches fire easily. Use LED lights. Outdoors, keep it under cover: burlap and cardboard do not survive rain.