How to Paint Daisies on a Glass Jar
Paint a daisy meadow on a glass jar in four layers: sponged green, grass blades, yellow centres and white petals. A beginner method with photos.
 By Hakan
Published
Project card
- Time
- 40 minutes, plus drying
- Skill
- Beginner
- Cost
- About $6
- Jar
- Square jar, about 12 oz
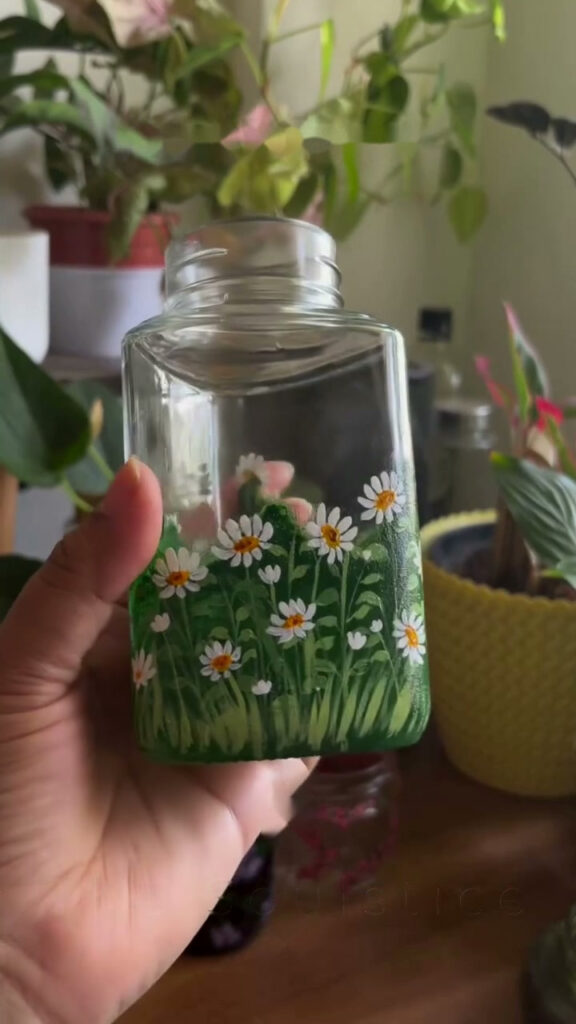
Daisies are the friendliest flower to paint. A yellow dot, a ring of white dashes, done. You do not need to be able to draw, and a wonky daisy looks more natural than a perfect one. On a clear jar, with long grass painted around the bottom, they turn into a little meadow that catches the light.
The whole design is built in layers, darkest first: dark green, light green, yellow, white. Each layer covers the mistakes of the one before.
What you need
- 1 clean clear glass jar. A square or flat-sided jar is easiest, about 12 oz
- Acrylic craft paint in four colours: dark green, light yellow-green, yellow and white. A teaspoon of each is more than enough
- A small piece of kitchen sponge, about 1 in (2.5 cm) square
- A fine round brush, size 1 or 2, with a good point
- A soft flat brush, about 1/2 in (1 cm), for the varnish
- Clear water-based varnish in gloss, or decoupage glue
- A plate or palette and a cup of water for rinsing
- 1 sheet of white paper towel
- Rubbing alcohol and a cotton pad for cleaning the glass
- A few cotton swabs for wiping away mistakes
Before you paint: put a paper towel inside the jar
Wipe the outside of the jar with rubbing alcohol, then stuff a sheet of white paper towel inside. On clear glass you cannot see thin paint properly. You look straight through it at your own fingers. With a white background behind the glass, every stroke shows up, and you take the towel out at the end.
Step 1: Sponge a dark green base
Put a few blobs of dark green paint on the lower part of one side of the jar.
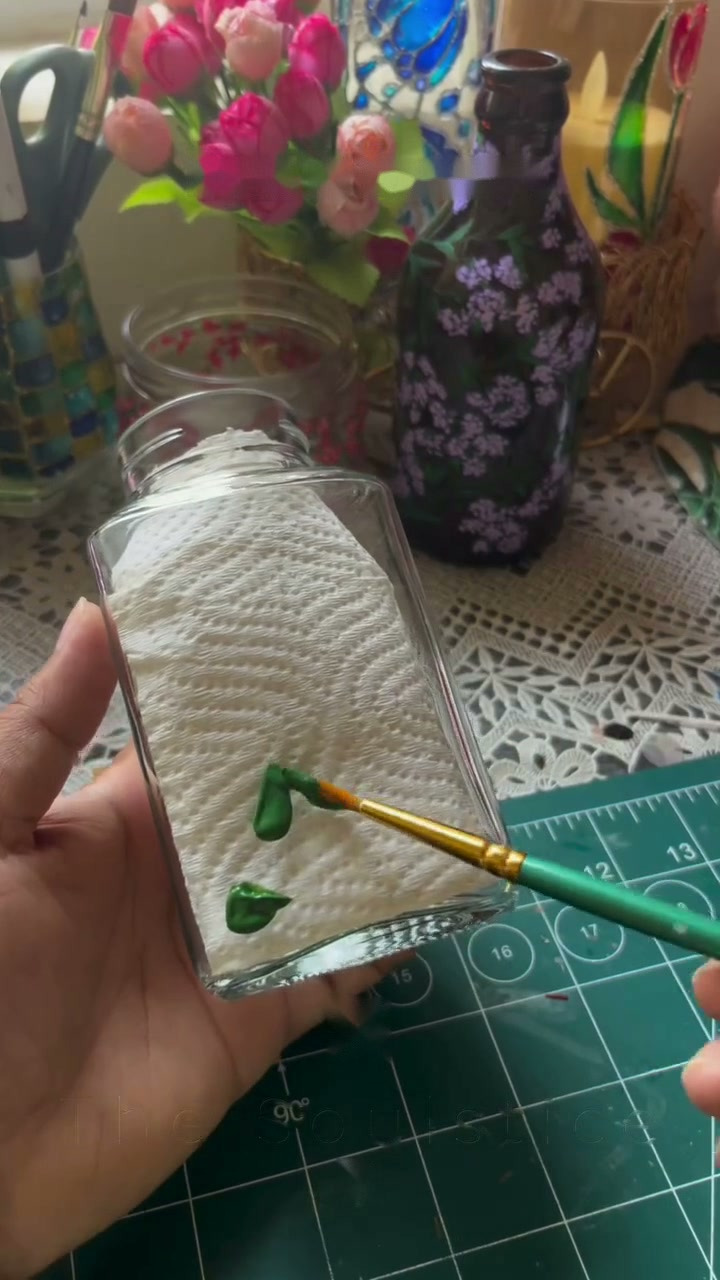
Dab them out with the sponge until the bottom third of the jar is covered in an even, slightly textured green. Take the paint higher in some places and lower in others. A straight top edge looks like a painted stripe, an uneven one looks like a field.
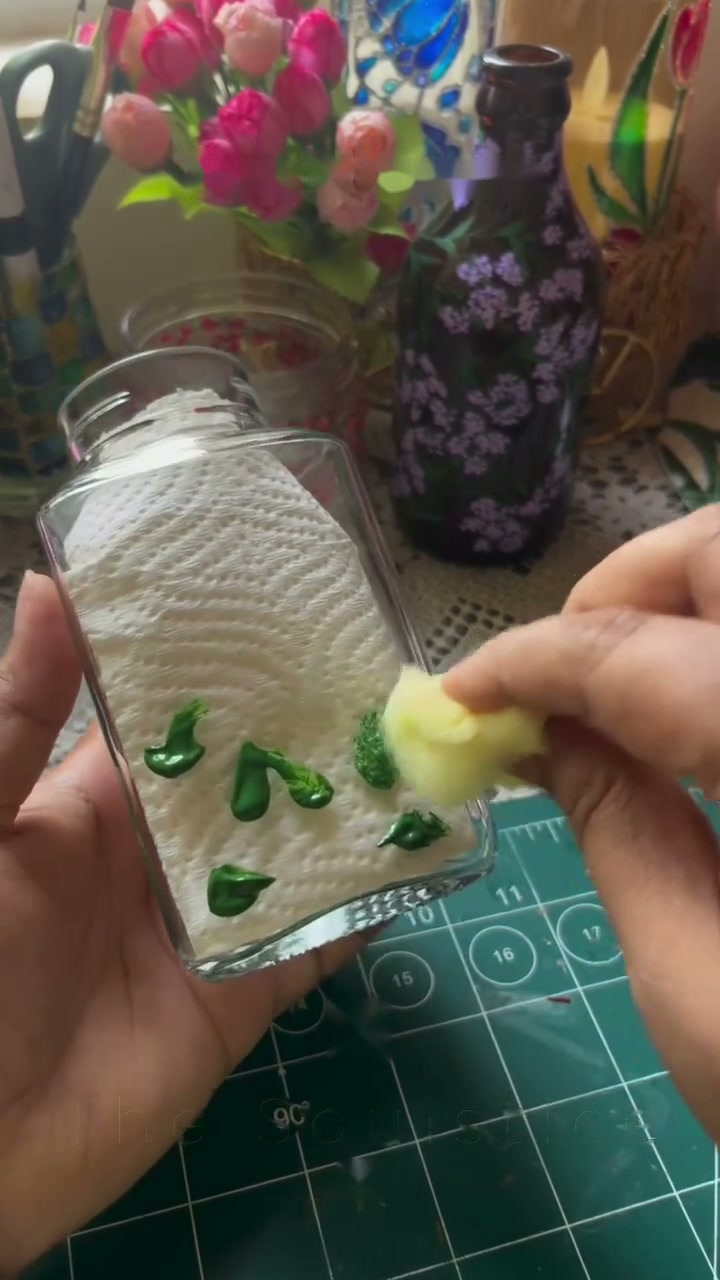
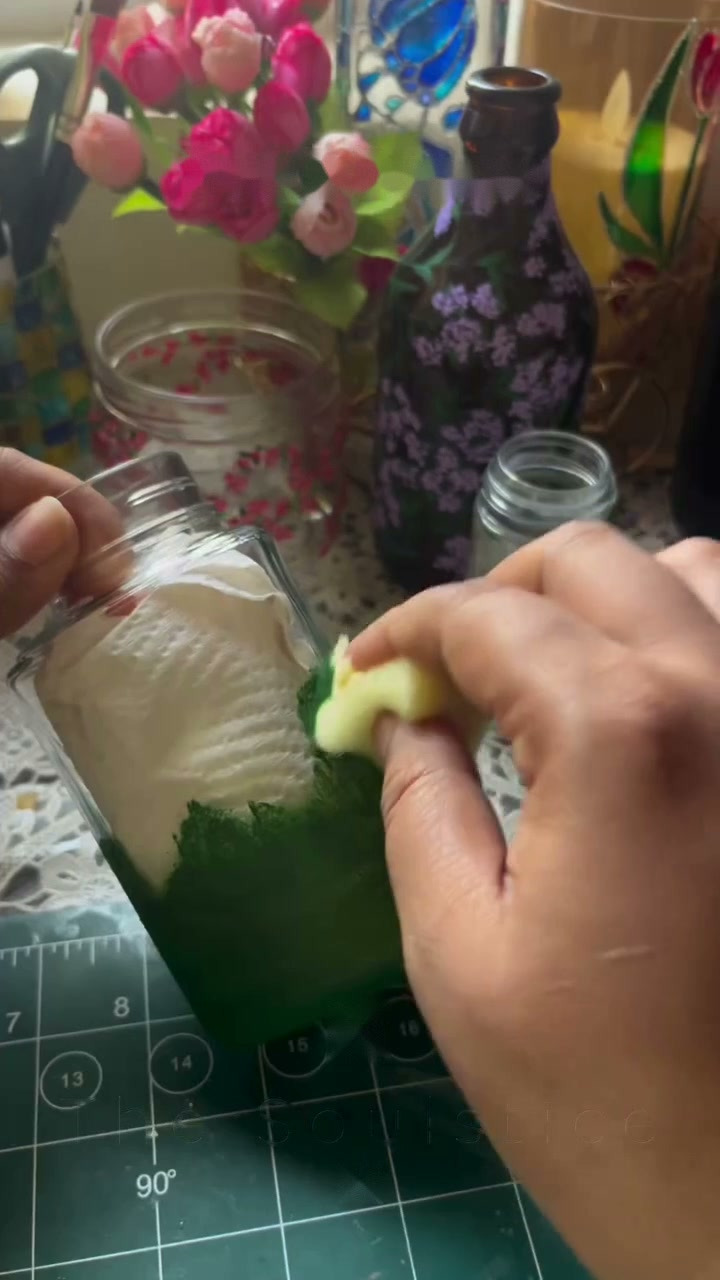
Carry the green around the corners onto the other sides if you want the meadow to go all the way round. Let it dry for 15 minutes.
Step 2: Paint the grass
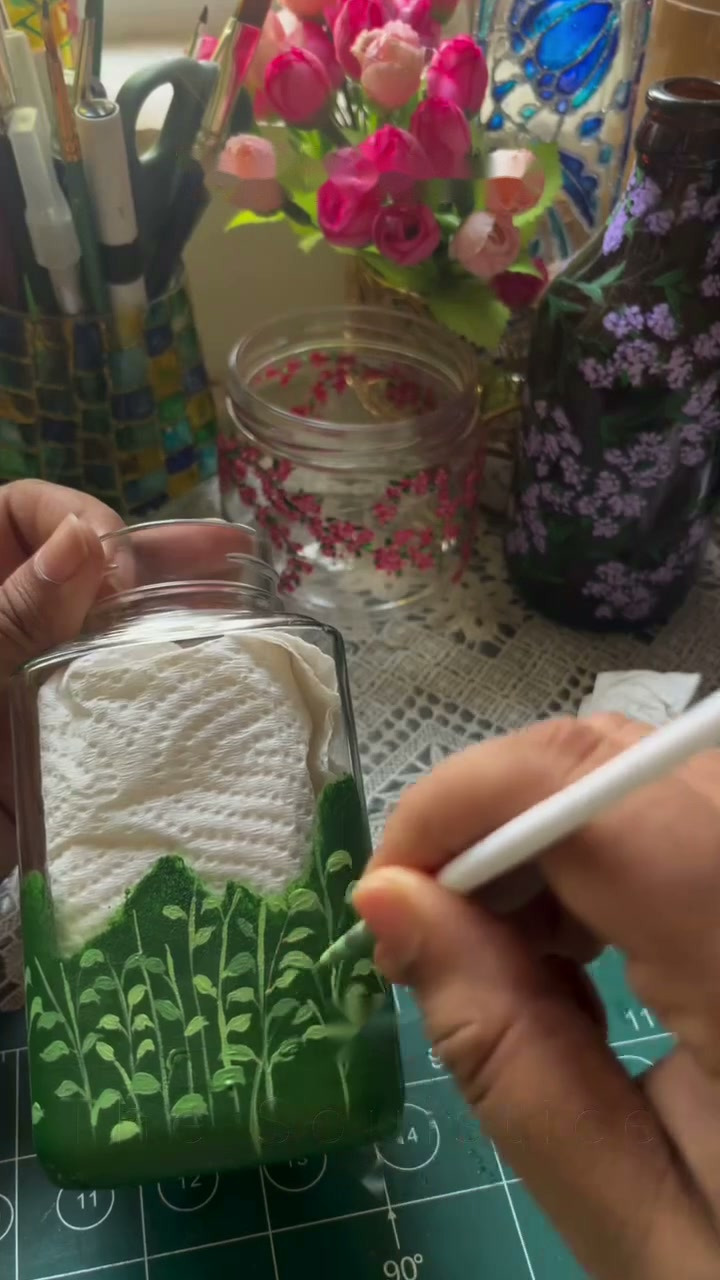
With the fine brush and dark green, pull thin lines upwards from the top edge of the sponged area, flicking the brush off the glass at the end of each stroke so the blade ends in a point. Vary the height and lean some to the left, some to the right.
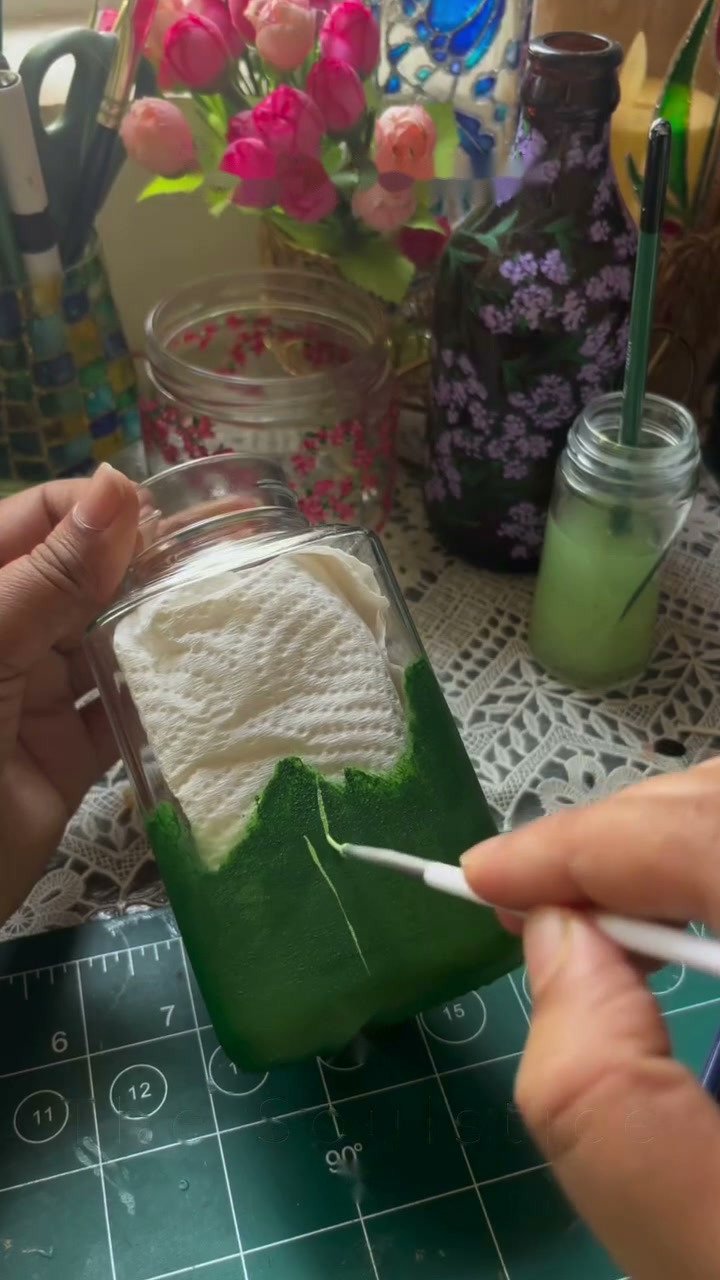
Rinse the brush and do the same again in light green, this time starting from the very bottom of the jar and painting over the dark base. The pale blades on the dark background are what give the grass depth.
Step 3: Dot in the yellow centres
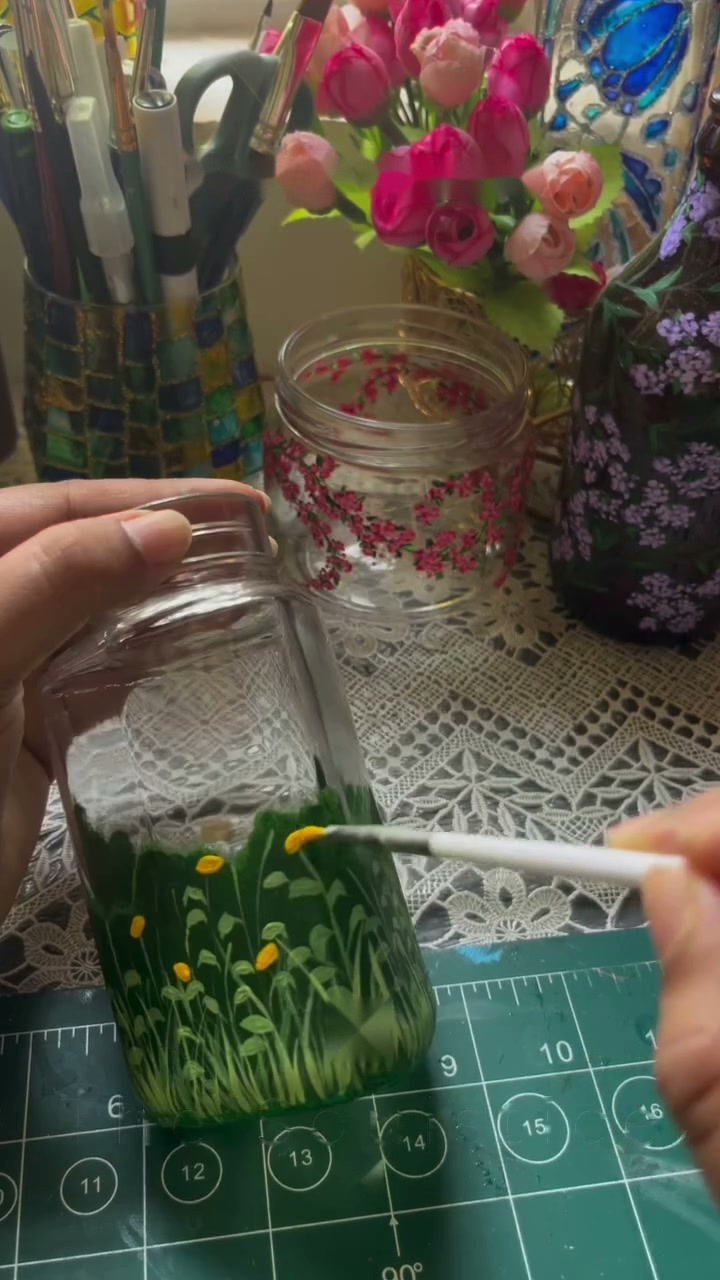
Decide where the daisies go before you paint a single petal. Dot yellow centres across the grass with the tip of the brush: some high, some low, a few close together in pairs, and one or two right at the top edge. For a jar this size, twelve to fifteen centres on the front is plenty.
Step 4: Add the white petals
Load the brush with white. Touch the tip down just outside a yellow centre, press lightly so the bristles spread, and pull towards the centre as you lift. That one move makes a petal that is rounded at the outside and narrow in the middle.
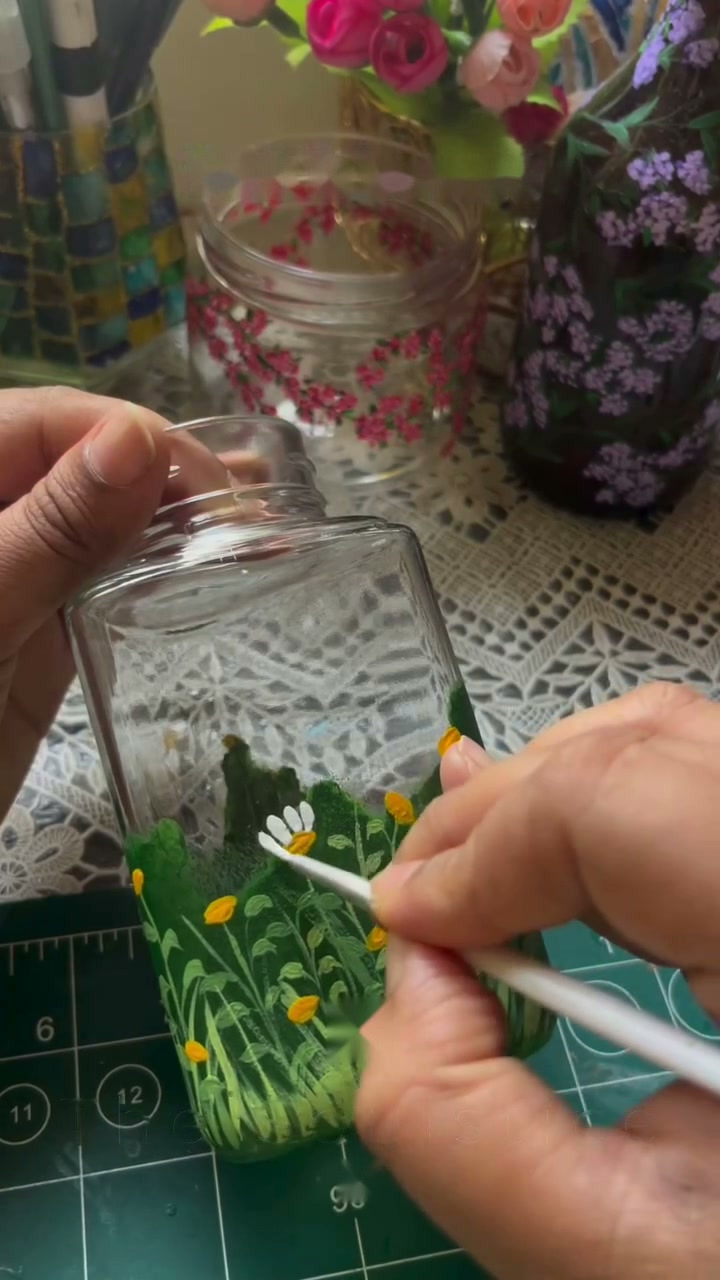
Go round each centre with eight to ten petals. Turn the jar as you work so you are always pulling the brush towards yourself. It is far easier than twisting your wrist.
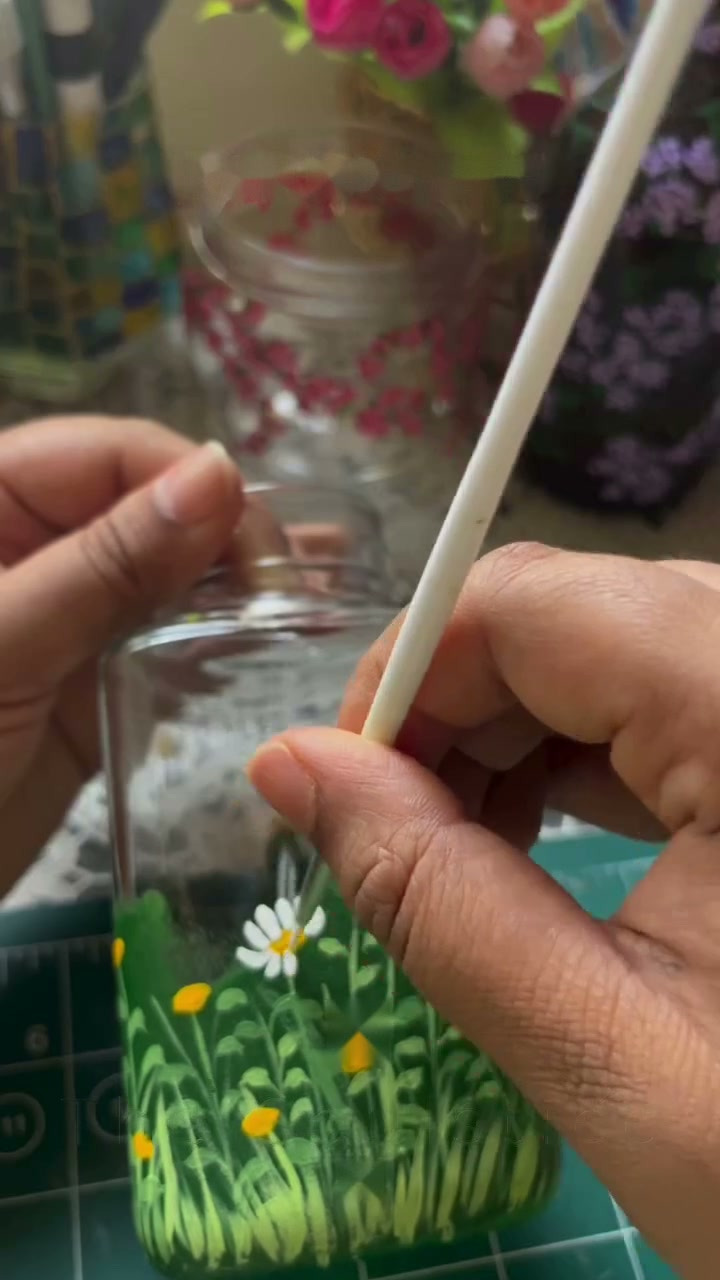
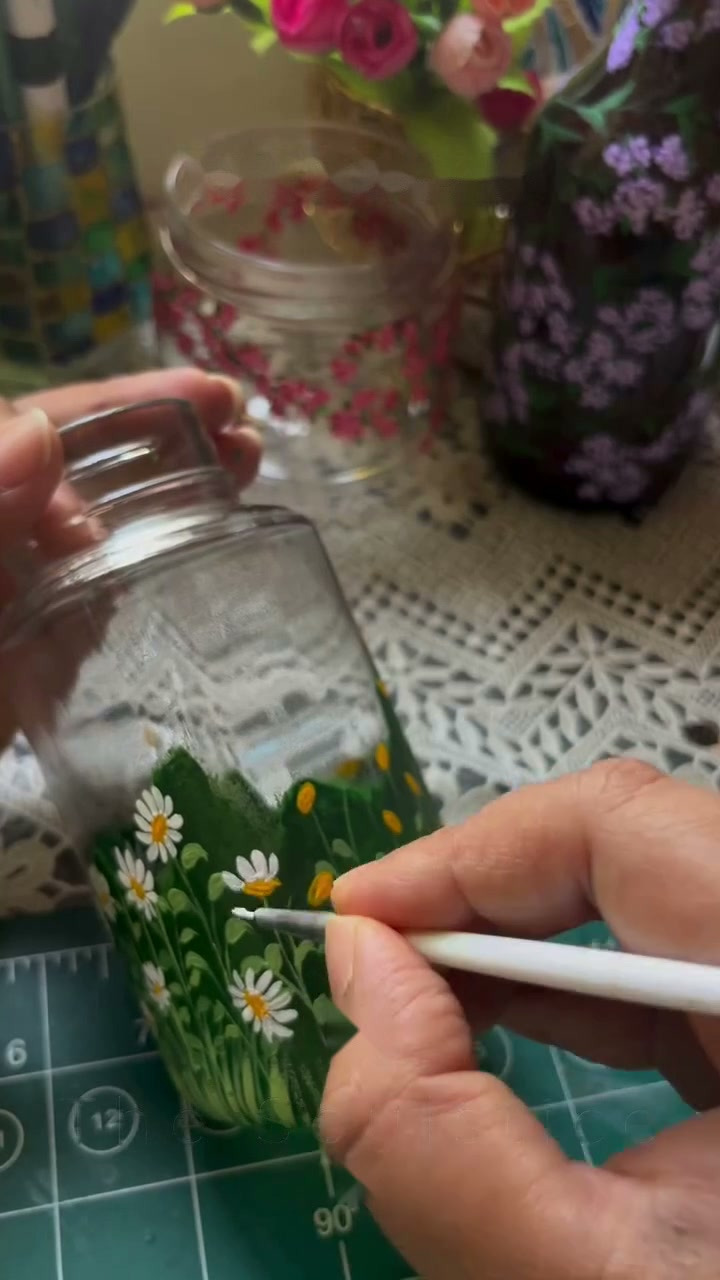
Not every daisy has to face you. Paint a few with petals only on the lower half, as if the flower were tilted up, and a few seen from the side with just four or five petals fanning out.
Step 5: Fill the gaps with buds
Where the grass looks empty, add buds: two or three short white dashes at the top of a grass blade, with no yellow. A dozen tiny white dots scattered between the flowers finish it off.
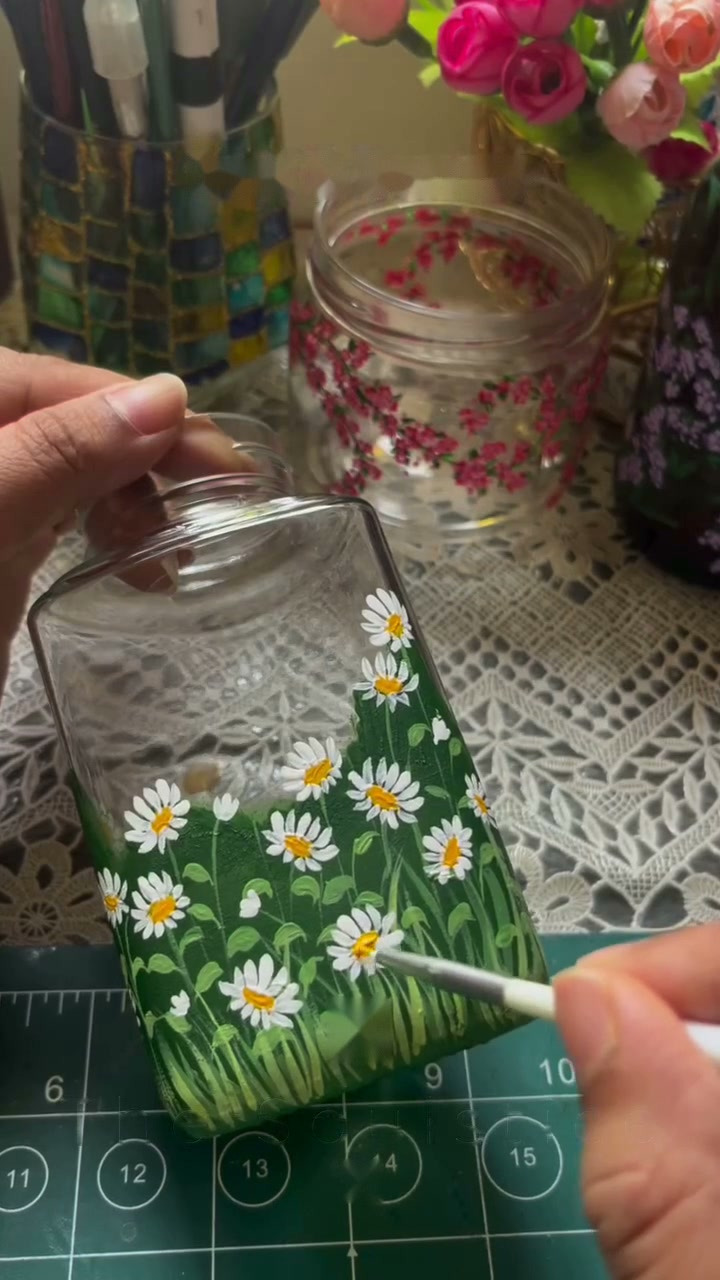
Step 6: Seal the painting
Take the paper towel out and let the paint dry for at least an hour. Then brush a coat of clear varnish over the painted area only. It goes on milky, sometimes with a blue tint, and dries clear.
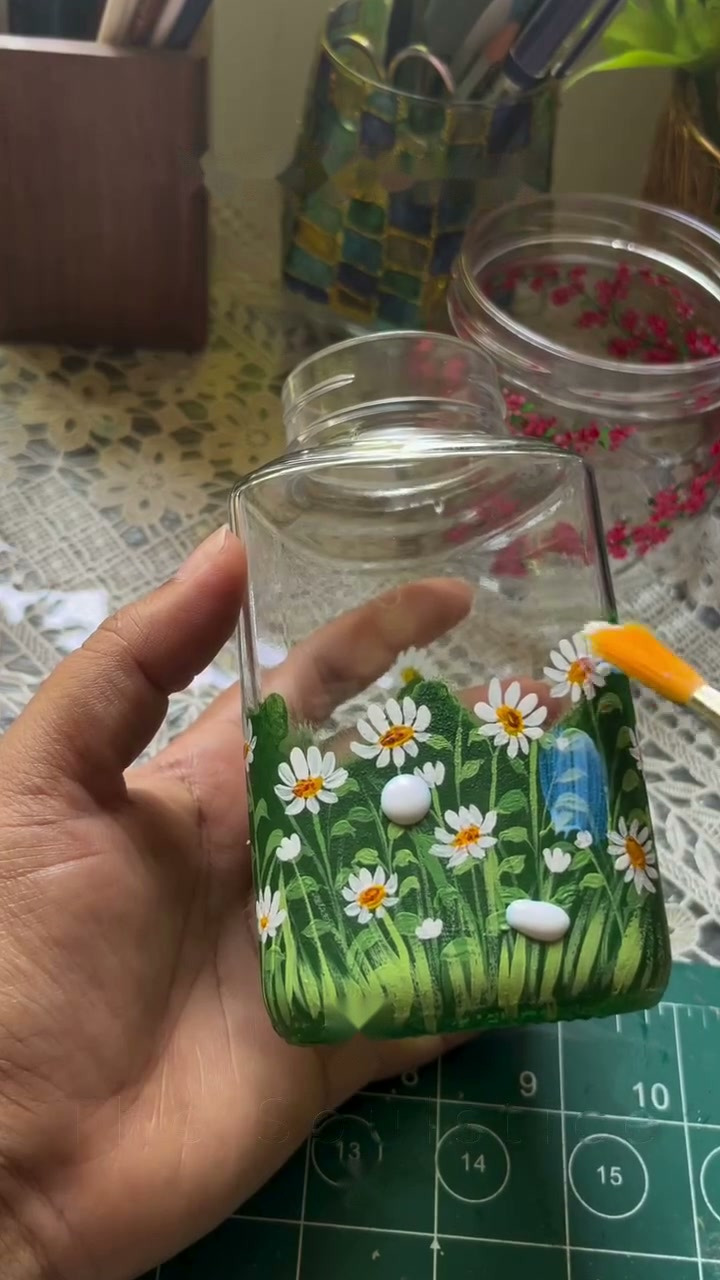
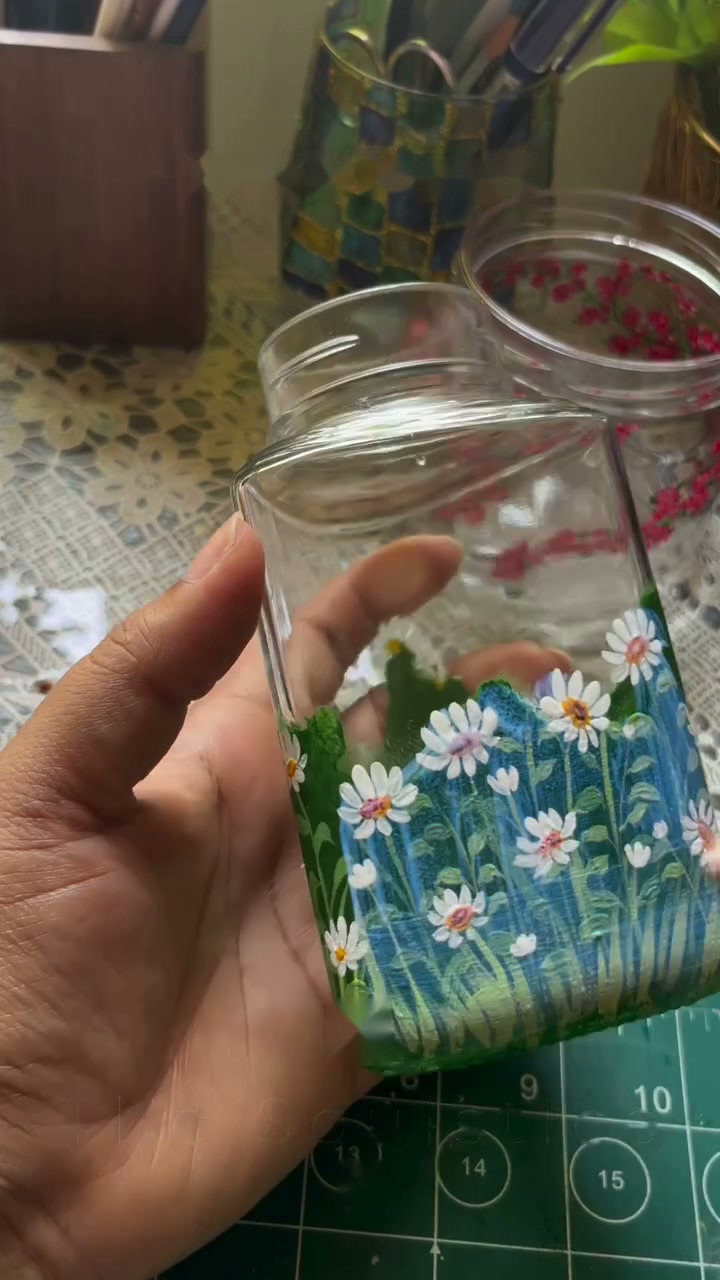
Use soft strokes in one direction and do not go back over an area once it starts to set, or the brush will drag the paint underneath.
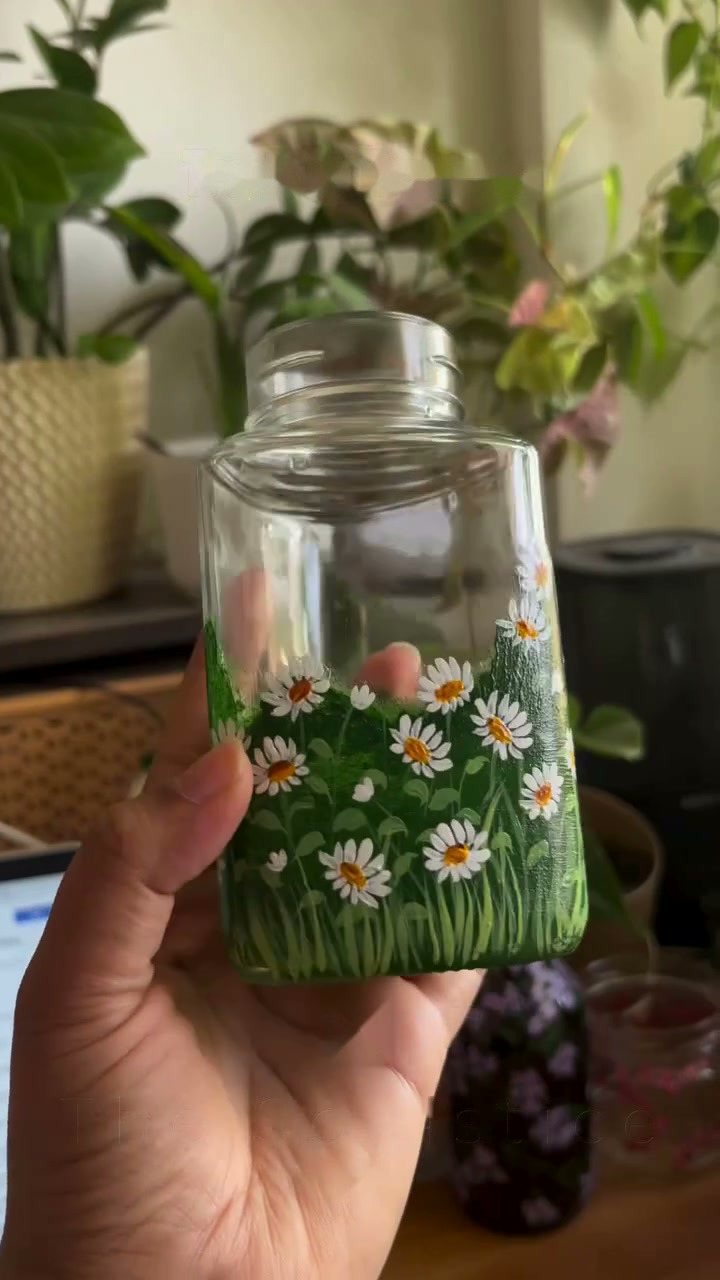
Which paint to use on glass
Ordinary craft acrylic works, and it is what most people have. It sits on the surface of the glass, so it needs the varnish coat and gentle handling. Paints sold as multi-surface or glass acrylic grip better and some can be baked in a home oven to harden them. If you go that way, follow the instructions on the bottle exactly, and put the jar into a cold oven so it heats up with it.
Whichever you choose, the result is decoration. Keep the painting on the outside, well below the rim, and wash the jar by hand without soaking it.
What usually goes wrong
- Petals look like blobs. Too much paint, or the brush was pushed, not pulled. Wipe the brush, reload just the tip and pull towards the centre.
- The white looks grey. The green underneath was still wet. Wait, then go over the petals a second time.
- Paint beads up on the glass. Grease. Wipe the bare glass with alcohol again.
- A daisy in the wrong place. Wet acrylic wipes off glass with a damp cotton swab. Dry acrylic scrapes off with a fingernail.
Other flowers with the same method
Swap white for purple and make the petals shorter, and you have asters. Use yellow petals around a brown centre for small sunflowers. Red dots on tall stems become poppies. The grass stays the same every time.